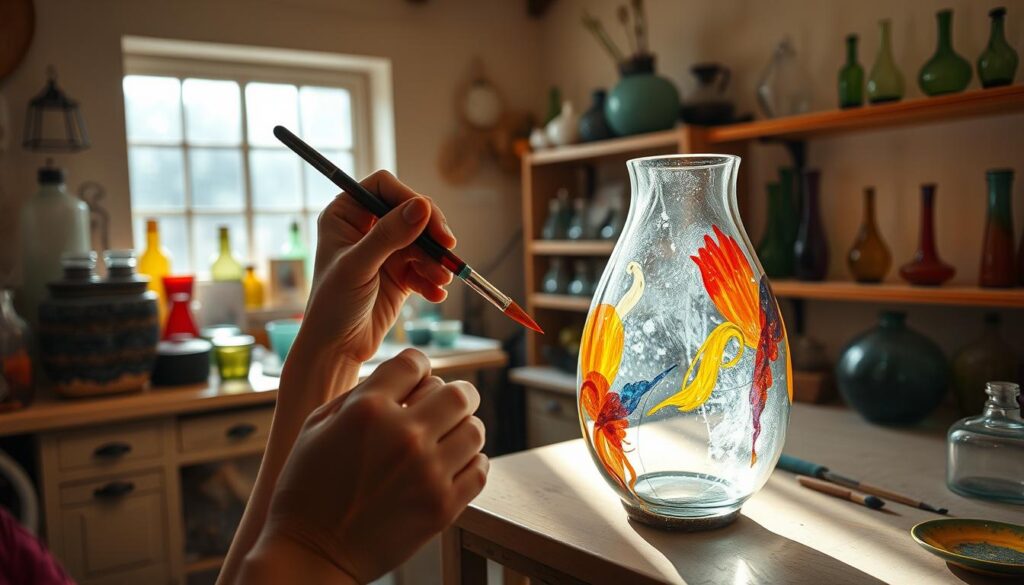
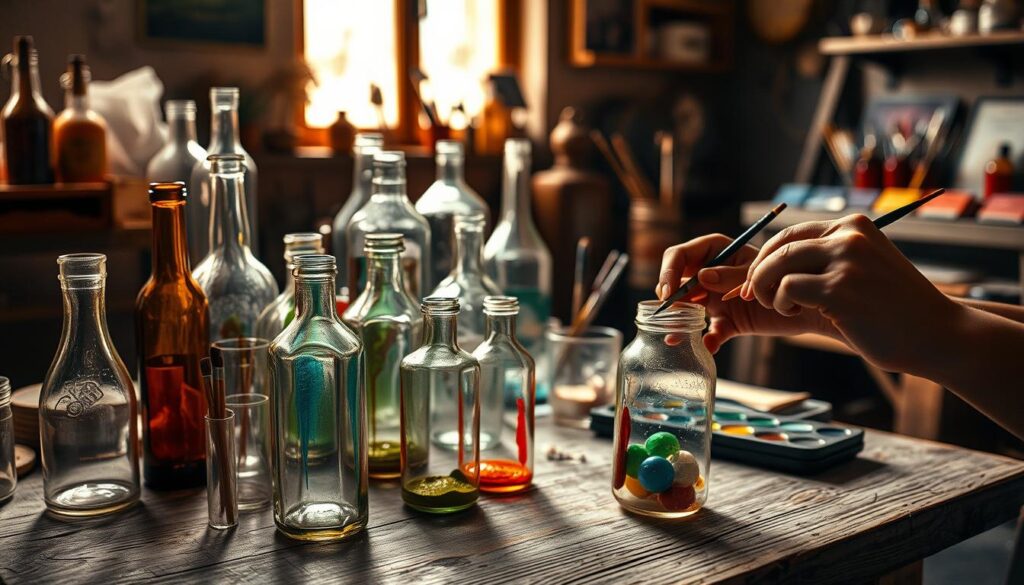
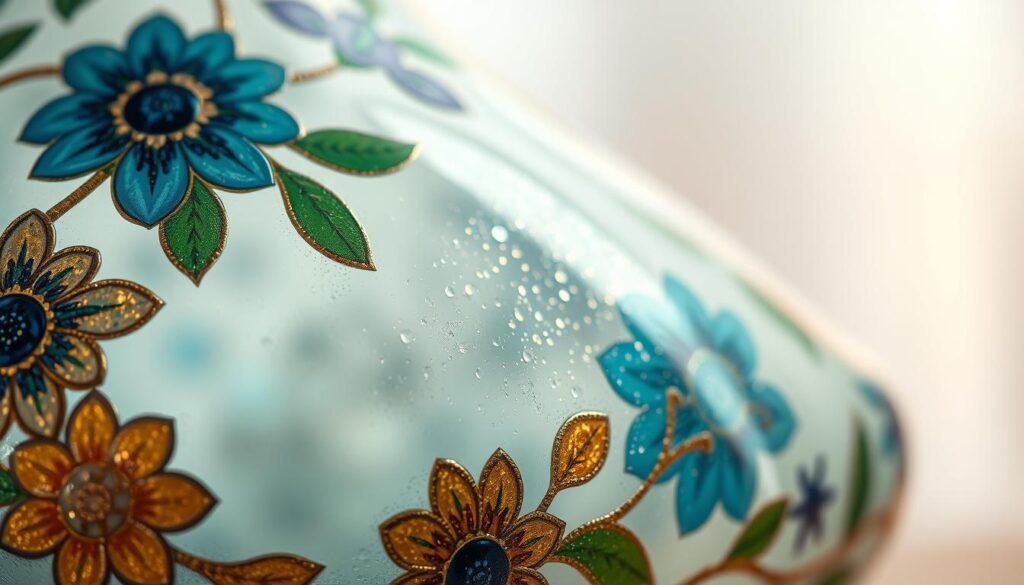
Creating artwork on rounded objects like jars or decorative pieces offers a fresh twist for crafters. Unlike flat canvases, these three-dimensional shapes demand careful planning. Light bounces differently across smooth finishes, creating unexpected shadows and highlights that can enhance—or disrupt—your design.
You’ll need to rethink brush angles and paint thickness. Transparent materials like glass require specialized primers to help colors stick without cracking. Even the way you layer shades matters more here—thick strokes might look uneven when viewed from multiple angles.
Preparation is key. Wiping surfaces with rubbing alcohol removes oils, while light sanding creates texture for better adhesion. Brands like DecoArt and FolkArt offer acrylic enamels designed to bond with slick finishes. These formulas dry slower, giving you time to adjust details before they set.
Mastering this skill opens doors to custom drinkware, floral vases, or holiday ornaments. With practice, you’ll turn everyday items into eye-catching displays. Ready to dive deeper? Let’s explore the tools and methods that make curved art projects shine.
Introduction and Getting Started
Transforming everyday containers into vibrant decor brings excitement—and a few hurdles. Working with rounded shapes demands adaptability, especially when light plays tricks on your eyes. Let’s unpack what makes these projects unique and how to leverage their potential.
Understanding the Challenges of Curved Surfaces
Brushing color onto rounded glass feels different from flat surfaces. The angle of your strokes changes constantly, requiring wrist flexibility. Light bends through the material, making it hard to spot thin spots or clumps until the piece dries.
Thicker paints tend to pool near the bottom, while watery mixes slide. Use slow-drying formulas like acrylic enamels for easier adjustments. Test your technique on spare jars before tackling that special bottle.
Benefits of Painting on Glass and Bottles
Personalized drinkware becomes a cherished gift. Seasonal vases add flair to holidays. When sunlight hits your work, colors glow like stained glass—a reward for mastering the craft.
Properly sealed designs withstand washing, turning functional items into art. Start small: decorate candle holders or spice jars. Soon, you’ll see empty glass containers as blank canvases waiting for your touch.
Tools, Materials, and Workspace Preparation
Success in glass art hinges on meticulous preparation and quality materials. Whether revamping wine bottles or crafting decorative pieces, your toolkit determines how smoothly colors flow across rounded shapes. Let’s break down what you’ll need to create lasting designs.
Essential Supplies and Brushes
Start with Pebeo Vitrea 160, a water-based formula that bonds permanently to slick surfaces. Its glossy finish resists chipping, even after washing. For matte effects on wine bottles, chalk paint offers bold coverage without glare.
Brushes matter as much as paint. A size 6 filbert hog bristle brush spreads colors evenly on large curves. Detail work demands a size 5 Kolinsky sable brush—its springy tip handles intricate lines. Keep a cranked palette knife nearby for mixing custom shades.
Proper Cleaning and Surface Preparation
Remove all labels using warm soapy water and a razor blade. Scrub stubborn glue with baking soda paste. Wipe the surface with rubbing alcohol to eliminate oils—this step ensures paint adheres properly.
Organize your workspace near natural light. Use jars for brush rinsing and dippers for thinning materials. Lay out kitchen roll for quick cleanups. With everything within reach, you’ll maintain focus as you work.
Painting on Curved Surfaces: Techniques for Glass Jars, Bottles, and Vases
Mastering curved object decoration requires precision and smart layering. This approach ensures your designs stay vibrant without cracks or drips. Let’s break down methods professionals use to conquer tricky shapes.

Step-by-Step Process for a Smooth Application
Begin at the object’s base using upward strokes. Hold your brush at a 45-degree angle to follow natural curves. Thin layers dry faster and prevent sliding—apply 2-3 coats instead of one thick layer.
Rotate the bottle slowly as you work toward the neck. Let each coat dry for 10 minutes before adding another. For colored glass, paint the inside of the neck lightly to mask its original hue.
| Application Method | Drying Time | Result |
|---|---|---|
| Thin Layers | 10-15 mins | No drips, even finish |
| Thick Layers | 30+ mins | Runs, uneven texture |
Tips to Achieve Even Coverage and Detail
Use a paint brush with synthetic bristles for smooth flow. Dab excess paint on your palette before touching the surface. Maintain consistent pressure when navigating tight curves near vases‘ rims.
Finish the bottom last to avoid smudging. If streaks appear, sand lightly between coats. Work quickly—most glass paints set within 20 minutes. Practice these steps on mason jars before tackling delicate pieces.
Creative Decorative Techniques
Elevate your craft with dynamic color play and precision patterns that dance across rounded forms. Translucent layers and clever brushwork transform ordinary glass into mesmerizing displays. Let’s unlock methods to make hues sing and designs flow seamlessly over complex shapes.
Incorporating Patterns and Color Variations
Build depth by dabbing square brush marks in clusters near the base. Gradually space them out as you move upward—this creates a gradient effect that mimics light reflection. For crisp details, outline motifs first with white paint. It acts as a backdrop, preventing darker tones from blending into clear wine bottle surfaces.
- Round brushes (size 2/0) create wispy leaves or vines
- Liner brushes add sharp geometric borders
- Mix Veil White with Oriental Green for soft sage undertones
Test color combos on scrap glass first. Transparent surfaces intensify jewel tones, while frosted finishes mute vibrancy. Apply turquoise accents sparingly—their brightness can overpower delicate palettes.
| Surface Type | Color Strategy | Brush Choice |
|---|---|---|
| Transparent | Bold, layered hues | Flat synthetic |
| Frosted | Pastel blends | Filbert hog bristle |
Rotate your project frequently to check pattern alignment. For seasonal themes like autumn leaves, adjust stroke pressure to mimic organic textures. A light touch with thinned paint yields natural-looking veins on floral designs.
Common Pitfalls and Expert Solutions
Even experienced crafters face challenges when working with rounded forms. Gravity pulls paint downward, creating drips or uneven textures. Let’s tackle these frustrations head-on with proven fixes.

How to Avoid Drips and Uneven Layers
Thin coats are your best defense. Apply three light layers instead of one thick one—this prevents pooling at the bottle’s base. If streaks appear, mix Pebeo Vitrea 160 Glass Paint Thinner into your formula. Never use water—it weakens adhesion.
Check drying progress by tapping the piece’s underside. If fingerprints don’t show, it’s ready for another coat. Work in sections: complete one part before rotating to the next. This maintains control over tricky curves.
Correcting Mistakes Without Starting Over
Act fast for wet errors. Dab a damp paper towel on smudged lines—blend edges gently. For dried mishaps, lightly sand the area and reapply paint.
Overworked spots often look chalky. Fix them by glazing with transparent medium. Apply it to the entire piece to unify the finish. Remember: patience beats perfectionism. Let layers cure fully before handling.
Conclusion
Transforming ordinary glass into personalized masterpieces combines skill with patience. You’ve learned how thin layers prevent drips, why Pebeo Vitrea 160 outperforms standard paints, and how brush angles affect curved shapes. These techniques turn wine bottles into keepsakes and vases into conversation starters.
Bake your finished piece at 160°C (325°F) for 40 minutes. Preheating ensures even curing. Lighter colors may deepen slightly, while brushstrokes soften for a polished look. Once cooled, your design withstands washing—ideal for functional art like drinkware.
Every project builds confidence. Start with small jars before tackling intricate vases. Experiment with color blending inside the bottom of clear pieces for hidden surprises. Remember: quality brushes and proper prep work make complex details achievable.
Your new skills open endless creative paths. Gift hand-painted candle holders, refresh old bottles, or craft seasonal centerpieces. With each step, you’ll refine your approach to curved surfaces—turning challenges into stunning results.
