Kiln-carved glass art is a warm glass working technique that uses a kiln to shape intricate designs into fused glass. This method is popular for creating textured panels, decorative pieces, and even jewelry. It combines technical skill with artistic vision, making it a rewarding craft for enthusiasts.
The process involves designing with fiber paper, firing in a kiln, and finishing the piece. WheatonArts’ kiln-carved glass panels are excellent examples of this technique in action. With proper safety measures, beginners can easily dive into this craft.
The DIY glass art trend is growing in the U.S. craft community. It’s a perfect way to explore your creativity while learning a new skill. Whether you’re crafting a decorative panel or a unique piece of jewelry, kiln-carved glass art offers endless possibilities.
Introduction to Kiln-Carved Glass Art
With kiln carving, you can create bas-relief textures on fused glass surfaces. This technique uses ceramic fiber molds to shape intricate designs. The process involves cutting 1/8″ fiber paper with Exacto knives and layering it under glass. When fired, the glass sinks into the mold, creating stunning textures.
Materials play a crucial role in this craft. You’ll need COE-compatible glass, fiber paper in 1/8″ to 1/4″ thickness, and kiln wash to prevent sticking. Iridized glass is a great choice as it prevents fiber adhesion. WheatonArts offers beginner-friendly projects ranging from 5″ to 10″ in size, starting at $50.
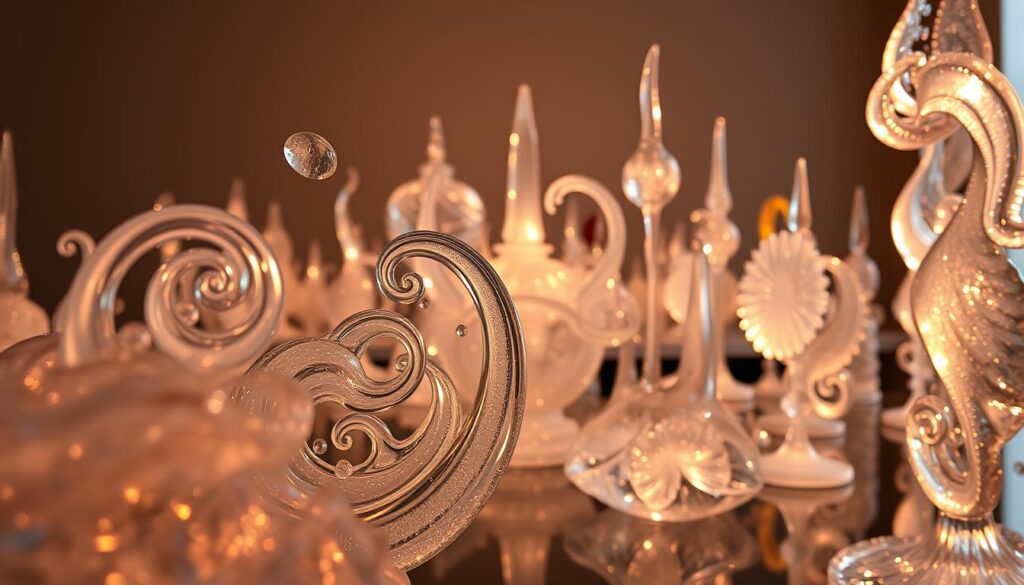
Transparent and opaque glass yield different results. Transparent glass shows depth, while opaque glass creates distinct indentations. Collidescopes’ experiments reveal that the rough side of fiber paper produces sharper textures compared to the smooth side.
| Glass Type | Result |
|---|---|
| Transparent | Shows depth and light play |
| Opaque | Creates bold indentations |
Projects range from wall panels to coasters and suncatchers. Firing temperatures typically range from 1450°F to 1520°F for a full fuse. Always handle fiber paper with care—wet scraping ensures safe disposal and protects your lungs.
Step-by-Step Guide to Creating Kiln-Carved Glass Art
Transforming glass into textured masterpieces is both an art and a science. This step-by-step guide will walk you through the essential stages of the process, from selecting materials to firing your piece in the kiln.
Choosing the Right Materials
Start with high-quality fused glass that matches your project’s needs. Transparent glass works well for depth, while opaque glass creates bold textures. You’ll also need:
- Ceramic fiber paper (1/8″ to 1/4″ thickness)
- Kiln wash to prevent sticking
- Iridized glass to avoid fiber adhesion

Designing Your Piece
Sketch your design on paper before transferring it to fiber paper. Use an Exacto knife to cut precise shapes. Layer the fiber paper under the glass, ensuring the rough side faces up for sharper textures. Experiment with double-layered firing for added depth.
Remember, the design phase sets the foundation for your final piece.
Firing Your Glass in the Kiln
Firing is the most critical part of the process. Follow this schedule for best results:
- Ramp: Slowly heat the kiln to 1450°F to prevent thermal shock.
- Soak: Hold at 1520°F for a full fuse or 1425°F for a tack fuse.
- Annealing: Cool gradually to avoid cracks.
Double firing can prevent bubbles, and wet scraping removes fiber residue safely. Always clean your kiln after use to maintain its performance.
With patience and practice, your finished pieces will showcase the beauty of kiln-carved glass.
Tips for Successful Kiln-Carved Glass Art
To achieve stunning results, focus on both technique and safety. Whether you’re a beginner or an experienced artist, these tips will help you refine your craft and ensure a smooth process. From experimenting with new methods to prioritizing safety, every step matters.
Experimenting with Different Techniques
Don’t be afraid to try new approaches. Use different types of glass to see how they react to the kiln. Transparent glass creates depth, while opaque glass offers bold textures. Layering fiber paper can add complexity to your designs. Test double firing to avoid bubbles and achieve sharper details.
Safety Precautions
Working with glass and a kiln requires careful attention to safety. Always wear protective gear, including N95 masks, kiln gloves, and aprons. Ensure your studio has proper ventilation to avoid inhaling fiber dust. Clean up fiber residue with wet methods to prevent airborne particles.
Place your kiln on a non-flammable surface and keep it away from flammable areas. Handle hot glass with care after firing, and always have a first aid kit nearby for minor cuts. Following these safety precautions ensures a safe and enjoyable crafting experience.
Conclusion
Exploring the world of kiln-carved glass opens doors to endless creative possibilities. This art form not only allows you to craft custom home decor but also offers a therapeutic outlet for your creativity. Start with small projects like 4″ coasters to build confidence and refine your skills.
As you grow, consider selling your glass creations at craft fairs or local markets. Suppliers like WheatonArts provide a wide range of materials, making it easier to experiment with new designs. Always prioritize safety, especially when working with high-temperature processes.
Take inspiration from success stories like Collidescopes’ orca art. For further learning, explore local resources such as WheatonArts’ programs. Dive into this rewarding craft and let your imagination shape stunning glass masterpieces. Learn more about glass techniques here.