Transforming your stained glass artwork into stunning fused creations is now within reach. By incorporating kiln-fired techniques into your craft, you can add depth and dimension to your glass projects that traditional methods can’t achieve.
Kiln-fired glass offers unique artistic possibilities, allowing you to explore new techniques and gain valuable experience. Whether you’re a beginner or an experienced artist, adding kiln techniques to your repertoire can elevate your work and open up exciting new possibilities.
By embracing kiln-fired stained glass, you can create functional art pieces like bowls, plates, and sculptural elements, taking your projects beyond traditional flat panel work.
Understanding Kilns for Stained Glass Art
To unlock the full potential of stained glass art, it’s essential to comprehend the role of kilns in the creative process. Kilns are not just heat treatment chambers; they are precision instruments that, when used correctly, can elevate your stained glass projects to new heights.
What Makes Glass Kilns Different
Glass kilns differ significantly from their ceramic counterparts, primarily in how they distribute heat. Even heat distribution is critical for glass projects, as it prevents thermal shock and ensures that the glass melts or fuses uniformly. The design of glass kilns, including the placement of heating elements, is tailored to provide this even heat distribution.
The Importance of Temperature Control
Temperature control is paramount when working with glass in a kiln. Precise temperature control allows artists to achieve specific effects, whether they’re fusing, slumping, or painting glass. Digital controllers are particularly useful in this regard, as they enable programmable firing schedules that are essential for consistent results.
Choosing the Right Kiln for Your Stained Glass Projects

Selecting the ideal kiln for your stained glass projects involves considering several key factors that will impact your work’s quality and versatility. To make an informed decision, you need to assess your current needs and future ambitions.
Size Considerations: Planning for Future Projects
Evaluate your current and future stained glass ambitions to determine the ideal kiln size, considering that larger projects require more kiln space. Investing in a slightly larger kiln than currently needed often saves money in the long run as your projects expand.
Power Requirements and Installation
Understand the electrical requirements for different kiln models, including standard household outlets versus dedicated circuits for larger units. Ensure you have the necessary power supply and space for the kiln you choose.
Digital vs. Manual Controllers
Compare the benefits of digital controllers (precise programming, saved schedules) versus manual controllers (simplicity, lower cost) for your specific needs. The right controller can significantly impact your workflow and project outcomes.
By carefully considering these factors, you can choose a kiln that meets your current needs and supports your future growth as a stained glass artist.
Types of Kilns for Different Glass Techniques
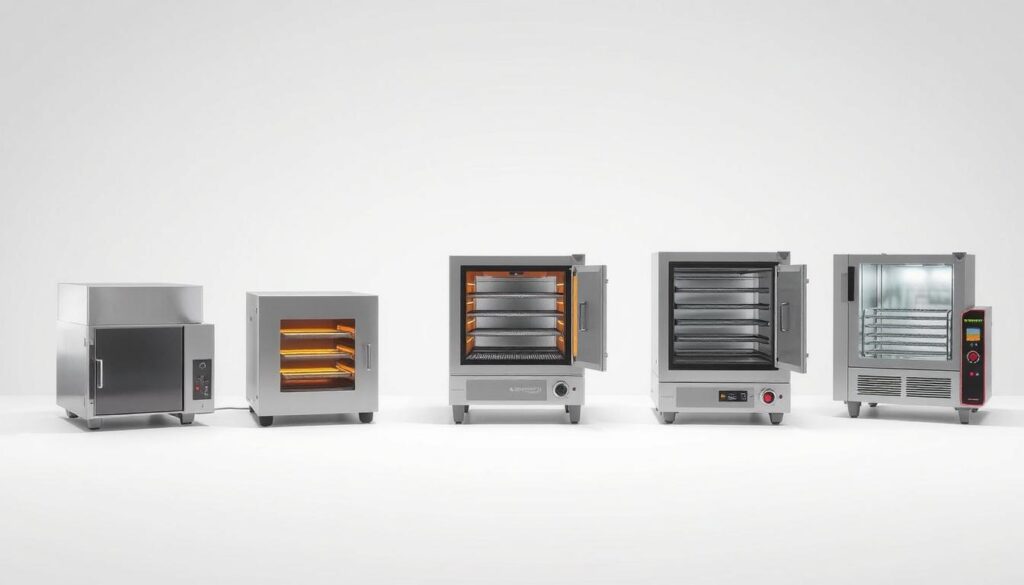
To master various glass techniques, understanding the different types of kilns is essential. The choice of kiln can significantly impact the outcome of your glass project, whether you’re fusing, slumping, painting, or casting.
Flat Bed Kilns for Fusing and Slumping
Flat bed kilns are ideal for fusing and slumping glass. They provide even heat distribution, which is crucial for achieving uniform results in these techniques. This makes them perfect for projects that involve combining multiple pieces of glass or shaping glass into complex forms.
Upright Kilns for Traditional Glass Painting
Upright kilns, with their multiple shelves, are traditionally used for glass painting. They allow artists to fire numerous smaller pieces simultaneously, making them highly efficient for projects that require multiple firings.
Specialty Kilns for Casting and 3D Work
Specialty kilns are designed for more complex glass work, such as casting and creating 3D objects. These kilns have unique features and temperature capabilities that enable artists to achieve intricate details and complex shapes.

| Kiln Type | Primary Use | Key Features |
|---|---|---|
| Flat Bed Kiln | Fusing, Slumping | Even heat distribution |
| Upright Kiln | Glass Painting | Multiple shelves for simultaneous firings |
| Specialty Kiln | Casting, 3D Work | Unique temperature capabilities and features |
Setting Up Your Kiln Safely
When setting up your kiln, safety should be your top priority to ensure a successful and hazard-free stained glass experience. This involves several critical steps to prevent accidents and ensure optimal performance.
Proper Placement and Ventilation
Proper placement of your kiln is crucial for safety and efficiency. Ensure it is positioned according to the manufacturer’s guidelines, maintaining the recommended distance from walls and combustible materials. Adequate ventilation is also essential to manage heat and prevent the accumulation of potentially harmful fumes.
Preparing the Kiln Interior
Before first use, carefully vacuum the inside of your kiln to remove any debris that may have accumulated during shipping. This step is vital for ensuring a clean and safe firing environment.
Essential Safety Equipment
When working with hot glass, it’s essential to use appropriate safety equipment, including heat-resistant gloves and safety glasses. These tools will protect you from burns and other injuries associated with handling hot materials.
| Safety Measure | Description | Importance Level |
|---|---|---|
| Proper Kiln Placement | Following manufacturer’s guidelines for distance from walls and combustible materials | High |
| Adequate Ventilation | Managing heat and preventing harmful fumes | High |
| Kiln Interior Preparation | Vacuuming debris before first use | Medium |
| Safety Equipment | Using heat-resistant gloves and safety glasses | High |
By following these guidelines and taking the necessary precautions, you can ensure a safe and successful kiln-firing experience. Always refer to your kiln’s owner’s manual for specific instructions and recommendations.
Essential Supplies for Using a Kiln in Your Stained Glass Projects
To ensure your kiln-fired glass projects turn out as expected, it’s essential to have the right equipment and materials. Working with a kiln requires specific supplies to achieve professional results.

Kiln Shelves and Posts
You need kiln shelves and posts to support your glass projects during firing. Ceramic kiln shelves are commonly used; they are durable and can withstand high temperatures. Place 3 or 4 short kiln posts on the floor of the kiln, then position the primed or fiber paper-lined ceramic kiln shelf on the posts.
Kiln Wash and Fiber Paper
Kiln wash and fiber paper are crucial for preventing glass from sticking to the shelves. Apply kiln wash to the shelves or use fiber paper as a barrier. This ensures that your glass projects have smooth bottom surfaces.
Tools for Loading and Unloading
Safely loading and unloading hot glass from your kiln requires specialized tools, including shelf grippers and heat-resistant gloves. These tools protect you from burns and make handling hot glass easier.
Understanding Firing Schedules
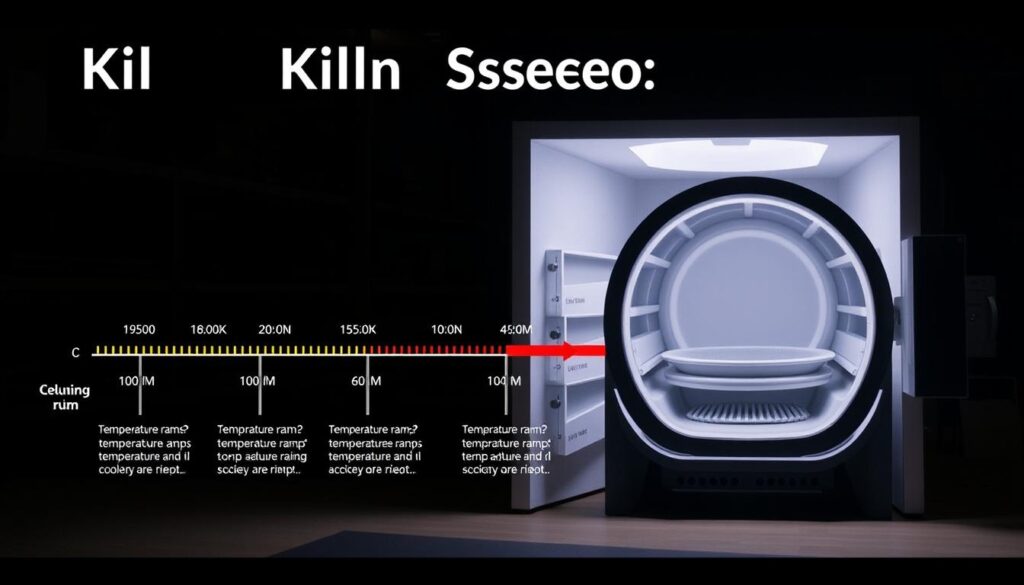
Firing schedules play a pivotal role in determining the outcome of your kiln-fired glass projects. A firing schedule is a programmed sequence of temperature changes that the kiln follows to achieve the desired effect on the glass.
The Basic Firing Process Explained
The firing process involves several key stages: heating, soaking, annealing, and cooling. Heating brings the glass to the desired temperature, while soaking maintains this temperature for a set period. Annealing is a critical stage that relieves stresses in the glass, preventing breakage.
Temperature Stages for Different Effects
Different temperature ranges create distinct effects in glass. For instance, full fuse results are achieved by firing COE 96 glass to 1465 degrees and holding it for ten minutes. Tack fuse results require firing to 1365 degrees for 10 minutes, while slumping results are achieved at 1265 degrees for 10 minutes.
| Firing Effect | Temperature (°F) | Hold Time (minutes) |
|---|---|---|
| Full Fuse | 1465 | 10 |
| Tack Fuse | 1365 | 10 |
| Slumping | 1265 | 10 |
Creating and Saving Custom Programs
You can create custom firing programs for your specific projects and save them in your digital controller for consistent results. This allows you to modify basic firing schedules to achieve special effects or accommodate unusual glass combinations.

Basic Glass Firing Techniques
Whether you’re a beginner or an experienced artist, knowing the basics of glass firing techniques can elevate your stained glass work. Glass firing involves heating glass to specific temperatures to achieve desired effects, such as fusing, slumping, or painting.
Full Fuse vs. Tack Fuse
Understanding the difference between full fuse and tack fuse is crucial. Full fusing involves heating glass to a temperature where it completely melts into a single, smooth surface. In contrast, tack fusing involves partial melting, where individual glass pieces remain distinct. The choice between these techniques depends on the desired outcome of your project.
Slumping Glass into Molds
Slumping glass into molds allows you to create functional pieces like bowls and plates. The process involves heating glass to a temperature where it becomes pliable and slumps into the mold. Temperature control is critical to achieve the desired shape without cracking the glass.
Glass Painting Techniques
Traditional glass painting techniques, such as grisaille, silver stain, and enamels, can be fired in a kiln to create intricate designs. The firing process enhances the colors and fixes them onto the glass surface. Proper preparation and firing schedules are essential for achieving consistent results.
| Technique | Temperature Control | Outcome |
|---|---|---|
| Full Fuse | High temperature | Smooth, single surface |
| Tack Fuse | Lower temperature | Distinct glass pieces |
| Slumping | Controlled temperature | Shaped glass forms |
Advanced Kiln-Fired Glass Techniques
Advanced kiln-fired glass techniques offer a world of creative possibilities for stained glass artists. By mastering these methods, you can add depth, complexity, and intricate details to your glass pieces.
Layering and Pattern Creation
Layering different glass elements allows you to create complex patterns and textures on the surface of your artwork. You can achieve this by using stencils and varying the application of frit and powders across multiple layers. For instance, applying a leaf pattern stencil on a white base layer and a flower pattern on a color layer can create delicate variations.
Working with Frit and Powders
Working with glass frit and powders enables you to add fine details and unique textures to your designs. By sifting different colors of powder frit over stencils on various layers, you can achieve subtle patterns and intricate designs. This technique allows for a high level of customization and creativity in your kiln projects.
Combining Multiple Techniques
Combining multiple firing techniques in a single project can lead to innovative and complex results. You can achieve this by planning multi-stage firing projects that involve several kiln firings. Techniques such as painting followed by fusing or slumping can be used in one piece, allowing you to explore new ways to create art.
- Explore advanced layering to create depth and complex patterns.
- Learn to work with frit, powders, and stringers for intricate details.
- Discover methods for combining multiple firing techniques.
Troubleshooting Common Kiln Firing Issues
Mastering the art of kiln-fired stained glass requires understanding how to troubleshoot common issues that may occur during the firing process. Whether you’re dealing with under-fired projects, over-fired glass, or other problems like devitrification and bubbles, knowing how to identify and resolve these issues is crucial for achieving consistent results in your glass projects.
Identifying Under-Fired Projects
An under-fired project can be identified by its hard, angular edges and sometimes sharp corners. The project retains its original size and shape, and a seam may be visible on the edge where the glass layers were stacked. To fix an under-fired project, you can re-fire it at a slightly higher temperature.
Key signs include:
- Sharp edges and corners
- Visible seams on the edges
- Textured surfaces where frit or other details haven’t fully melted
Fixing Over-Fired Glass
Over-fired glass can be identified by excessive flow, distorted shapes, and potential sticking to the kiln shelves. If your glass project has become misshapen or stuck, adjust your kiln firing schedule.
Characteristics include:
- Excessive flow beyond the desired shape
- Distorted or warped shapes
- Potential sticking to the kiln shelf
Dealing with Devitrification and Bubbles
Devitrification appears as a cloudy surface on the glass, while bubbles are trapped air pockets. Adjust your firing schedule or ensure proper glass compatibility to address these issues.
Documenting Your Kiln Work for Consistent Results
The journey to perfecting your stained glass techniques involves meticulous documentation of your kiln work. By keeping detailed records, you can refine your processes and achieve more consistent results over time.
Maintaining a thorough documentation system is vital for any artist working with kilns. This involves not just recording the outcomes of your projects, but also detailing the steps taken to achieve those outcomes.
Creating Firing Logs
One of the most critical aspects of documentation is creating firing logs. These logs should include temperature schedules, types of glass used, project configurations, and the final results. By doing so, you’ll be able to replicate successful projects and learn from those that didn’t meet your expectations.
I recommend taking notes on how you assemble your pieces and on your firing steps. This way, you can easily reproduce your successes and learn from the pieces that didn’t come out as you expected.
Photography Tips for Glass Projects
Photography plays a crucial role in documenting your glass projects. To capture the unique qualities of glass, including its transparency, color, and interaction with light, consider the following tips: Use a clean, neutral background to let your work be the focus, and experiment with different lighting setups to highlight the glass’s characteristics. You can also use video documentation to provide valuable insights into your creative process.
By systematically documenting your kiln work, you’ll not only build your expertise over time but also contribute to your growth as a glass artist. This documentation will serve as a valuable resource for troubleshooting issues and making incremental improvements to your techniques.
Conclusion: Mastering the Art of Kiln-Fired Stained Glass
By incorporating kiln techniques, you unlock new artistic avenues. Mastering kiln-fired glass is a journey over time, expanding your creative possibilities and potentially opening new opportunities for teaching or selling your stained glass work.
