Have you ever thought about giving new life to old materials? Repurposing broken pieces into something functional and beautiful is not only rewarding but also sustainable. This project combines creativity with practicality, making it perfect for DIY enthusiasts of all skill levels.
Creating your own coasters is a fantastic way to express your artistic side while reducing waste. Inspired by Salt & Sundry’s $12 crushed glass coasters, this guide will show you how to craft unique pieces that add charm to your home.
Whether you’re a seasoned crafter or just starting out, this step-by-step process is simple and fun. Stay tuned to learn how to turn everyday materials into stunning art that’s both eco-friendly and stylish.
Introduction to Turning Broken Glass into Decorative Coasters
Ever wondered how to turn discarded items into functional art? Repurposing materials like broken glass not only reduces waste but also allows you to create stunning tabletop art. This project is perfect for anyone looking to add a personal touch to their home or craft unique gifts.
Transforming broken pieces into coasters is a practical way to protect your table while showcasing your creativity. Brands like Salt & Sundry have popularized this idea with their pre-made crushed glass coasters in sand and cascade colors. These pieces are not only functional but also serve as conversation starters.
You might have concerns about safety and durability. However, with proper handling and finishing, these coasters are both safe and long-lasting. For example, Ikea glass coasters have been used as a base for decoupage projects, proving their versatility and functionality.
Creating your own coasters is a rewarding experience. Each piece becomes a unique reflection of your style, making it a perfect addition to your home or a thoughtful gift for loved ones. Dive into this project and discover the joy of crafting something truly one-of-a-kind.
Materials You’ll Need for Your Glass Coasters
Ready to gather your supplies for a creative DIY project? Crafting your own coasters is easier than you think. With the right tools and materials, you can create functional and stylish pieces that reflect your personality.

Essential Supplies
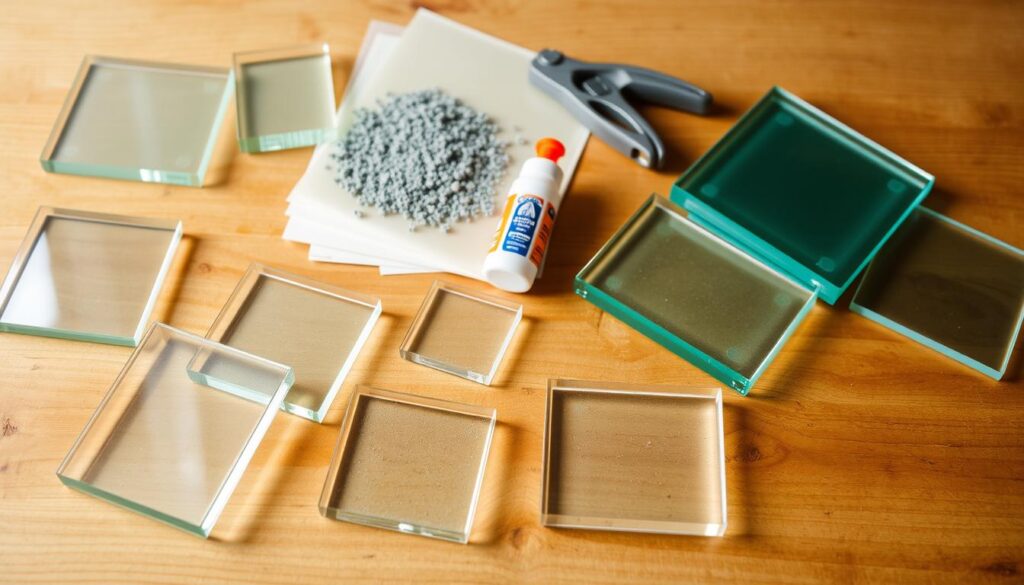
Start with the basics. You’ll need safety gloves to protect your hands and glass nippers to shape the pieces. A clear epoxy resin or ModPodge works as a strong adhesive to hold everything together. For smoothing edges, 220-grit sandpaper is a must.
Foam brushes are perfect for applying adhesive evenly. An Xacto knife helps with precision cutting, and felt pads add a finishing touch to the bottom of your coasters. These essentials ensure your project is safe, durable, and professional-looking.
Optional Decorative Elements
Want to add a personal touch? Crushed glass in various sizes or colored sand can create unique textures. Patterned paper is another great option for adding flair. Cut the paper into perfect circles to fit your coasters.
For edge detailing, Sharpies or paint pens let you customize the design. Spray adhesive can help secure decorative elements firmly. These optional materials allow you to experiment and make each coaster truly one-of-a-kind.
Preparing Your Broken Glass for the Project
Before diving into your creative endeavor, proper preparation is key. Working with glass requires attention to detail and safety measures to ensure a smooth process. This section will guide you through the essential steps to get your materials ready.
Safety First
Always prioritize safety when handling glass. Wear cut-resistant gloves to protect your hands and safety goggles to shield your eyes. Handle each piece carefully to avoid injuries, and work in a well-lit, clutter-free area.
Cleaning and Smoothing the Edges
Start by cleaning the glass with isopropyl alcohol to remove any oils or debris. This ensures a clean surface for your project. Next, focus on smoothing the edges to make them safe to handle.
Use 220-grit sandpaper in a perpendicular motion to refine the edges. Begin with coarse sandpaper and gradually move to finer grades for a polished finish. This step takes time but is crucial for safety and durability.
After sanding, wipe the glass again with isopropyl alcohol to remove dust. Allow it to dry completely before proceeding. Moisture can affect the adhesion of the final layer, so ensure the surface is entirely dry.
| Step | Tool | Purpose |
|---|---|---|
| Clean | Isopropyl Alcohol | Remove oils and debris |
| Smooth | 220-grit Sandpaper | Refine edges |
| Dry | Air Dry | Ensure moisture-free surface |
Step-by-Step Guide to Creating Your Glass Coasters
Crafting your own coasters is a simple yet rewarding process. Whether you’re a beginner or an experienced crafter, this guide will walk you through each step to create stunning and functional pieces. Let’s dive in!
Designing Your Coasters
Start by planning your design. You can use templates for precision or go freehand for a more artistic touch. Consider the size of your cup or glass to ensure the coasters are practical. Experiment with colors, textures, and patterns to make each piece unique.
Applying the Adhesive
Once your design is ready, it’s time to apply the adhesive. Use a foam brush for even coverage. For a smooth finish, spread the adhesive thinly and remove excess with a credit card. This technique helps avoid air bubbles and ensures a clean layer.
Letting It Dry
Allow the adhesive to let dry for 15-20 minutes between layers. Keep the coasters in a controlled environment to prevent dust or moisture from affecting the finish. Patience is key here—taking your time ensures a durable and professional result.
By following these steps, you’ll create beautiful coasters that are both functional and stylish. Enjoy the process and the unique pieces you’ll have to show for it!
Finishing Touches for Your Decorative Coasters
The last steps are where your coasters truly come to life. Adding the right protective layer and personalizing them with creative techniques will ensure they’re both functional and stunning. Let’s explore how to perfect your coasters with these finishing touches.
Adding a Protective Layer
To make your coasters durable and long-lasting, apply a protective coating. UV resin and polyurethane are popular choices. UV resin dries quickly under a UV light, while polyurethane offers a more traditional finish. Both options provide a strong barrier against scratches and spills.
For a non-slip surface, consider using spray adhesive to attach felt or rubber pads to the bottom. This not only prevents slipping but also protects your table from scratches. Addressing condensation issues? A waterproof sealant can help keep your coasters in top shape.

Customizing with Paint or Decals
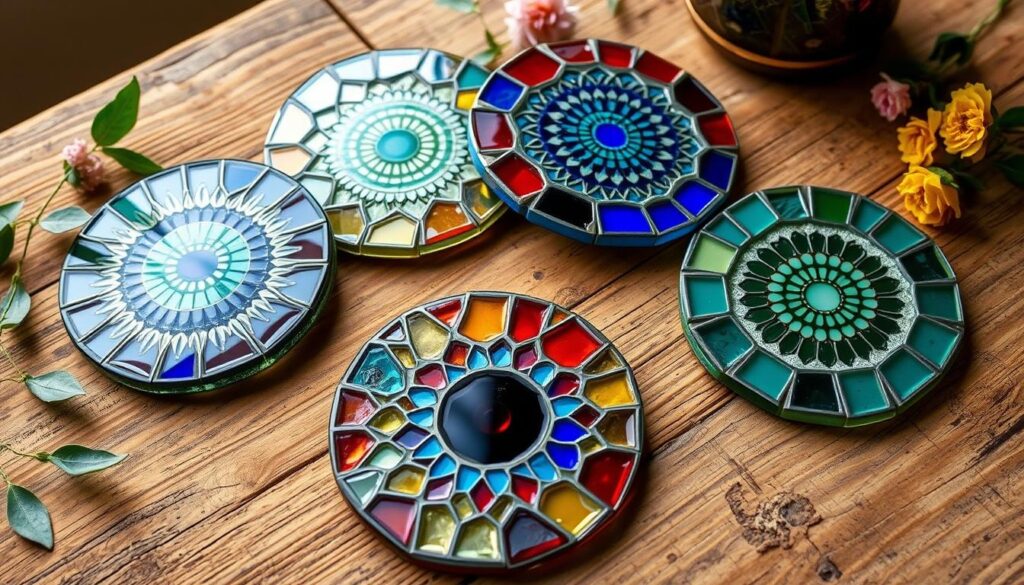
Personalize your coasters with paint or decals for a unique look. Alcohol inks create vibrant, marbled effects, while metallic leaf accents add a touch of elegance. For a more intricate design, try the reverse decoupage method to place patterns under the glass.
Experiment with texture by layering materials like colored sand or crushed glass. These elements add depth and visual interest to your coasters. Whether you’re crafting for yourself or as a serving piece for guests, these customizations make each coaster one-of-a-kind.
Conclusion: Enjoy Your Unique Glass Coasters
Now that your coasters are complete, it’s time to enjoy and share your creations. To keep them looking their best, clean them gently with a damp cloth and avoid exposing them to high heat. This ensures they last for many days of use.
If you’re giving them as gifts, consider packaging them with care instructions and protective pads. This thoughtful touch adds value and shows you care. For an advanced project, try creating matching drinkware sets to complement your coasters.
Share your work on social media to inspire others and connect with the crafting community. Before regular use, test your coasters to ensure they’re safe and functional. For more creative ideas, explore projects like using sea glass in resin coasters.
Enjoy the process and the unique pieces you’ve created. Whether for yourself or as a gift, these coasters are a testament to your creativity and craftsmanship.
