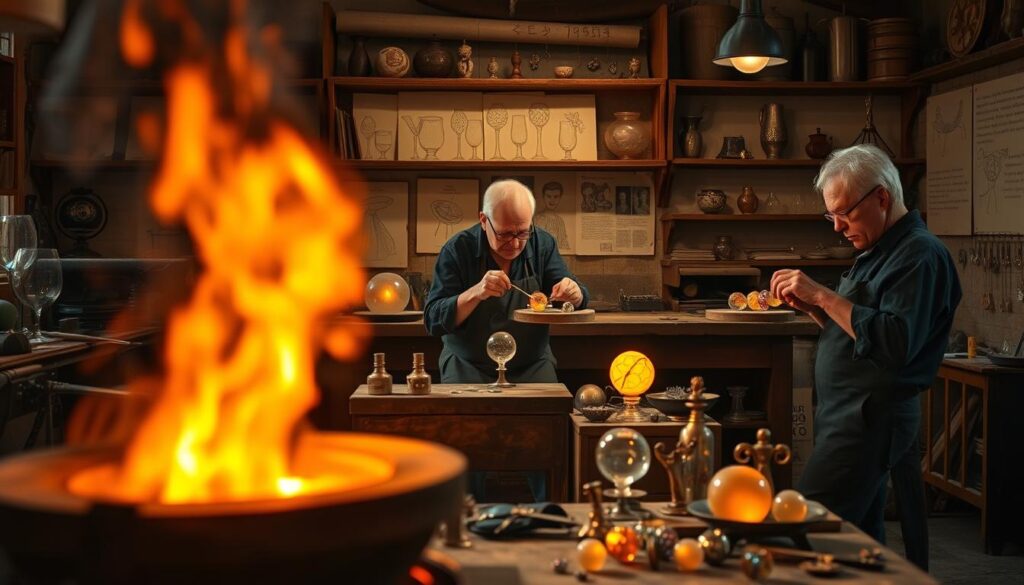
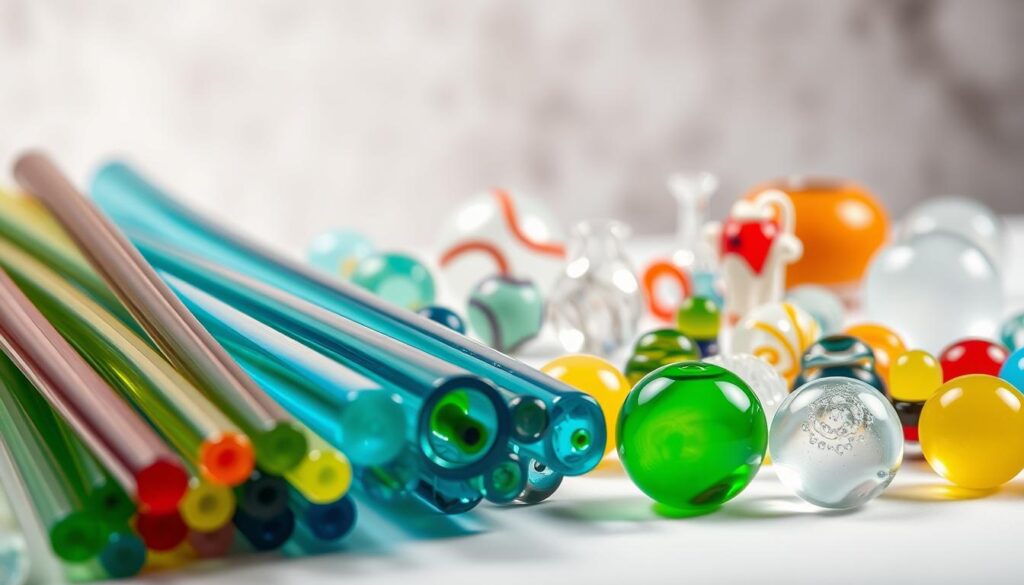
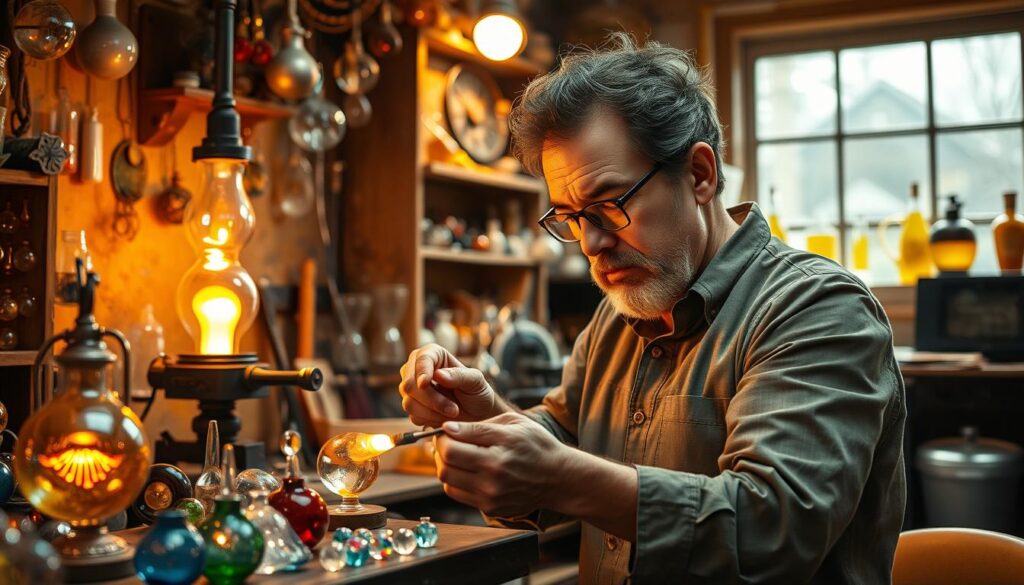
Discover the fascinating world of lampworking, a modern art form that blends ancient techniques with contemporary creativity. This method allows you to shape molten glass into intricate designs, from delicate beads to stunning sculptures. Over the past 50 years, this craft has seen a resurgence, captivating artists and hobbyists alike.
What makes lampworking unique is its versatility. You can create not only decorative pieces but also functional items and scientific instruments. Compared to other glasswork methods, it requires fewer tools, making it more accessible for beginners. This guide will walk you through its history, essential tools, and step-by-step projects to get you started.
Whether you’re exploring a new hobby or refining your skills, lampworking offers endless possibilities. Dive into this art form and unlock your creative potential today.
What is Lampworking?
Lampworking, also known as flameworking, involves melting glass with a torch to craft intricate designs. This method uses temperatures between 1,200°F and 2,000°F to shape molten glass into stunning creations. Unlike furnace-based techniques, it’s more accessible and requires fewer tools.
The term “lampworking” comes from historic oil lamps used to heat glass, while “flameworking” refers to modern torch setups. Today, artists use oxygen-propane torches for precision and control. This art form is perfect for creating small, detailed pieces like beads, pendants, and sculptures.
Here’s a quick comparison between lampworking and traditional glassblowing:
| Aspect | Lampworking | Glassblowing |
|---|---|---|
| Heat Source | Torch | Furnace |
| Working Temperature | 1,200°F – 2,000°F | 2,100°F – 2,400°F |
| Common Outputs | Beads, pendants, small sculptures | Vases, bowls, large sculptures |
| Accessibility | Beginner-friendly | Requires more space and equipment |
Whether you’re a beginner or an experienced artist, lampworking offers endless possibilities. Its versatility and accessibility make it a popular choice for those exploring this type glass technique.
The History of Lampworking
The art of shaping molten glass has a rich history that spans centuries. Its origins trace back to the 5th century BCE, where Phoenician artisans crafted the earliest known glass beads. These ancient techniques laid the foundation for what would become a globally celebrated craft.
During the Venetian Renaissance, lampworking saw significant advancements. Venetian glassmakers introduced innovations like foot-operated bellows and oil lamps, which allowed for greater precision. These tools revolutionized the process, making it easier to create intricate designs.

From the 14th to the 18th century, Murano, Italy, dominated the glass bead industry. For over 400 years, Murano’s artisans held a monopoly, using secret techniques to produce unparalleled creations. This era solidified Murano’s reputation as the glass bead capital of the world.
In the 1970s, American artists reignited interest in this ancient craft. Their modern interpretations led to the formation of the International Society of Glass Beadmakers (ISGB). This organization continues to support and promote the society glass beadmakers community worldwide.
Today, lampworking blends traditional techniques with influences from Bohemian, Asian, and African styles. This fusion has created a vibrant, diverse art form that continues to evolve. To learn more about its fascinating journey, visit this detailed guide.
| Era | Key Developments |
|---|---|
| 5th Century BCE | Origins with Phoenician glassmakers |
| 14th-18th Century | Murano’s beadmaking monopoly |
| 1970s | American revival and ISGB formation |
| Present | Hybrid styles blending global traditions |
Essential Tools for Lampworking
To get started with this art form, you’ll need the right tools to shape and mold your creations. The right equipment ensures precision, safety, and durability in your work. Below, we’ll break down the essentials, from torches to mandrels and beyond.
Torches and Fuel Sources
Your torch is the heart of your setup. It generates the flame needed to melt and shape your material. Beginners often start with a propane/oxygen setup, like the Nortel Red Max, which offers excellent control. Butane torches are another option but are better suited for smaller projects.
For more advanced work, consider torches like the National 3A or Minor Burner. These provide higher heat output, ideal for working with borosilicate glass. Always ensure proper ventilation and safety when using these tools.
Mandrels and Bead Release
Mandrels are stainless steel rods used to form the core of your pieces. They come in sizes ranging from 1/16″ to 1/8″. After use, a diamond file can smooth any rough edges.
Bead release is applied to the mandrel to prevent your creation from sticking. Sludge Plus, a clay-based release, is popular for its ease of use. For a smoother finish, try Fusion FX, which contains boron nitride. Both options protect against thermal shock.
Other Essential Tools
Beyond the basics, several tools can enhance your work. Graphite marvers help shape molten material, while tungsten picks are perfect for adding fine details. A kiln with digital controls, like the Skutt Glass Bead Annealer, ensures your pieces cool properly.
Safety is paramount. Always wear didymium glasses, such as ACE 202 lenses, to protect your eyes from harmful light. With the right equipment, you’ll be ready to create with confidence.
Types of Glass Used in Lampworking
Understanding the different types of material is crucial for mastering this art form. The two primary options are soft glass and borosilicate glass. Each has unique properties that influence your creative process and final results.

Soft Glass vs. Borosilicate Glass
Soft glass, also known as soda-lime glass, has a Coefficient of Expansion (COE) of 104. Brands like Effetre/Moretti from Italy and Vetrofond from the Czech Republic are popular choices. This type glass is ideal for detailed patterning and vibrant colors. However, it requires kiln annealing to prevent cracking.
On the other hand, borosilicate glass, often referred to as hard glass, has a COE of 33. Pyrex is a common example, while brands like Kimble/Schott and Northstar cater to scientific and artistic needs. This type glass withstands thermal stress, making it perfect for functional items like pipes and vessels.
Choosing the Right Glass for Your Project
Your project goals will determine the best material. For small, detailed pieces like beads under 1 inch, soft glass is the go-to choice. Its vibrant colors and ease of manipulation make it ideal for intricate designs.
For larger, functional items, borosilicate glass is the better option. Its durability and resistance to thermal shock ensure longevity. Remember, never mix COE types, as this can lead to cracking and structural failure.
By selecting the right material, you’ll set yourself up for success in every project. Whether you’re creating delicate beads or sturdy vessels, understanding these differences is key.
Basic Lampworking Techniques
Mastering the fundamentals of this art form starts with understanding essential techniques. These methods allow you to transform raw materials into intricate designs. Whether you’re creating marbles or decorative pieces, these skills are the foundation of your creative journey.
Winding on a Mandrel
One of the first skills to learn is winding glass rods onto a mandrel. Hold the rod at a 45° angle to ensure even distribution. Look for the “orange peel” texture on the hot glass as a heat indicator. This method is crucial for creating uniform shapes.
Marvering and Shaping
Marvering involves using a graphite paddle to shape glass. Keep the paddle at 300-400°F for optimal results. For lentil beads, brass mashers are ideal. This technique ensures smooth, consistent forms.
Adding Decorative Elements
Decorate your pieces with Silvered Ivory stringers for organic patterns. For a dichroic effect, try Double Helix Triton. Always handle frit (crushed glass) with an N95 mask for safety. These techniques add depth and character to your work.
| Technique | Key Tips |
|---|---|
| Winding | 45° angle, orange peel texture |
| Marvering | 300-400°F, brass mashers |
| Decoration | Silvered Ivory, Double Helix Triton |
Step-by-Step Guide to Creating a Glass Bead
Creating a glass bead is a rewarding process that combines precision and creativity. Each step, from preparation to finishing, ensures your piece is both beautiful and durable. Follow this guide to master the art of beadmaking.
Preparing Your Workspace
Start by organizing your tools within arm’s reach. A 12-inch workspace rule helps maintain efficiency. Preheat your kiln to 900°F for soft glass or 1050°F for borosilicate. This step prevents thermal shock and ensures even heating.
Heating and Shaping the Glass
Begin with a base wrap, rotating the rod at least three times for structural integrity. Use a marver to check symmetry every 20 seconds. For decorative touches, consider adding silver or gold accents. These elements elevate your design and add a unique flair.
Annealing and Finishing
Once shaped, your bead must undergo annealing to strengthen it. Program your kiln for a 2-hour cycle at the strain point, followed by a cooling rate of 100°F/hour until it reaches 700°F. After cooling, remove bead release with a Dremel 7100 drill and polish using cerium oxide for a smooth finish.
By following these steps, you’ll create a glass bead that’s both functional and artistic. Whether you’re a beginner or an experienced artist, this process offers endless opportunities for creativity.
Advanced Lampworking Techniques
Take your skills to the next level with advanced techniques that push the boundaries of creativity. These methods allow you to create intricate designs and functional pieces that stand out. Whether you’re working on hollow work or experimenting with fuming, these skills will elevate your craft.
Hollow Work and Vessels
Creating hollow work involves shaping tubes into vessels or functional items. Start with 12mm boro tubing for beginner projects. Use blow tubes between 18-24 inches long for better control. This technique is popular in scientific glassblowing and artistic creations.
Historically, Bohemian mold-casting influenced modern hollow work. This method allows for precise shapes and intricate details. With practice, you can craft everything from vases to complex scientific instruments.
Pulling Stringers and Fuming
Pulling stringers requires precision and speed. Aim for a pull speed of 6 inches per second for consistent results. Store your stringers in silica gel containers to prevent moisture damage. These thin glass rods are essential for adding fine details to your work.
Fuming is another advanced technique that adds unique colors and effects. The Snodgrass method is widely used for gold and silver fuming. For gold, aim for a thickness of 0.0002 inches to achieve pink hues. Silver fuming, or “striking,” at 1050°F creates dichroic effects. Always use a fume extractor, like the Studio Pro 300, for safety.
These advanced techniques open up new possibilities for artists. Whether you’re creating functional pieces or decorative art, mastering these skills will set your work apart. Dive in and explore the endless potential of these methods.
Conclusion
As you wrap up your journey into this art form, remember that safety and creativity go hand in hand. Always prioritize proper ventilation, eye protection, and burn first aid. These essentials ensure a safe and enjoyable experience.
Consider joining the International Society of Glass Beadmakers (ISGB) to connect with fellow artists. Membership offers access to workshops, pattern exchanges, and a supportive community. It’s a great way to grow your skills and network.
Start with simple projects like beads, then progress to pendants and sculptural forms. This natural progression helps you build confidence and expertise. Local resources, such as the 82 Crucible-affiliated studios nationwide, can also provide hands-on learning opportunities.
Finally, document your projects in flameworking journals. This practice not only tracks your progress but also inspires new ideas. With these tips, you’re ready to create with confidence and passion.
