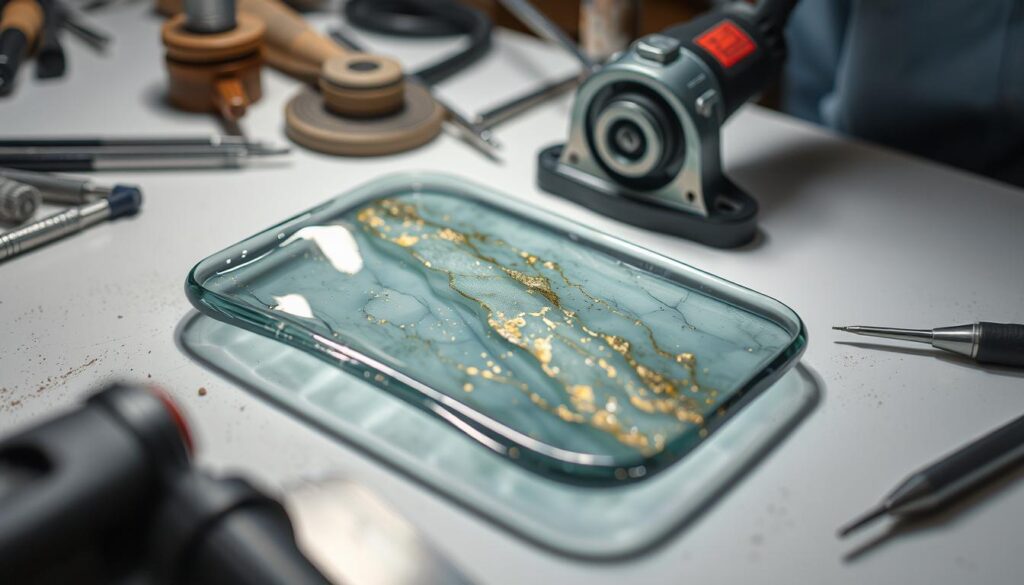
Creating professional-quality glass art requires more than just fusing. After the initial process, cold working becomes essential. This method transforms rough edges into smooth, polished finishes, giving your pieces a refined look.
From vases to pendants, this approach elevates your projects. Precision tools like grinders and sanders are key. Safety measures, such as wearing protective gear, ensure you avoid imperfections or thermal shock.
Proper annealing is crucial before starting. Cooling the material correctly prevents cracks. Techniques like cutting, grinding, and polishing are covered in detail, helping you achieve stunning results.
What is Cold Working and Why is it Essential for Fused Glass?
Transforming fused glass into a masterpiece involves more than just heating and cooling. After annealing, the cold working process takes center stage. This method allows you to refine your piece at room temperature, ensuring durability and aesthetics.
Cold working includes techniques like cutting, grinding, and polishing. These steps remove stress points and imperfections, giving your glass a smooth, professional finish. It’s also ideal for adding intricate designs or textures, such as sandblasting or diamond engraving.
Unlike hot glass methods, cold working offers greater control and safety. You can shape and detail your piece without risking thermal shock. Proper annealing is crucial before starting, as it ensures the glass is stable and ready for refinement.
Here’s why cold working is essential:
- Enhances durability by removing stress points.
- Adds textures and precise details for a unique look.
- Provides a safer alternative to high-temperature techniques.
For best results, use a reliable kiln like Hot Shot for precise temperature control during annealing. This sets the foundation for successful cold working and stunning glass art.
Essential Tools for Cold Working Fused Glass
Mastering the art of glass refinement starts with the right tools. Whether you’re cutting, grinding, or polishing, having the proper equipment ensures precision and efficiency. Below, we’ll explore the must-have instruments for achieving professional results.
Glass Cutters and Diamond Tools
For precise cutting, glass cutters like Toyo or Silberschnitt are indispensable. These tools allow you to score glass cleanly, ensuring smooth edges. Diamond-coated abrasives, such as hand pads and files, are equally important. They provide durability and accuracy for shaping and smoothing.
When drilling, diamond core drills are a game-changer. Electroplated drills are ideal for quick jobs, while sintered drills offer long-lasting performance. Both types ensure clean, efficient holes without damaging your piece.
Rotary Tools and Wet Grinders
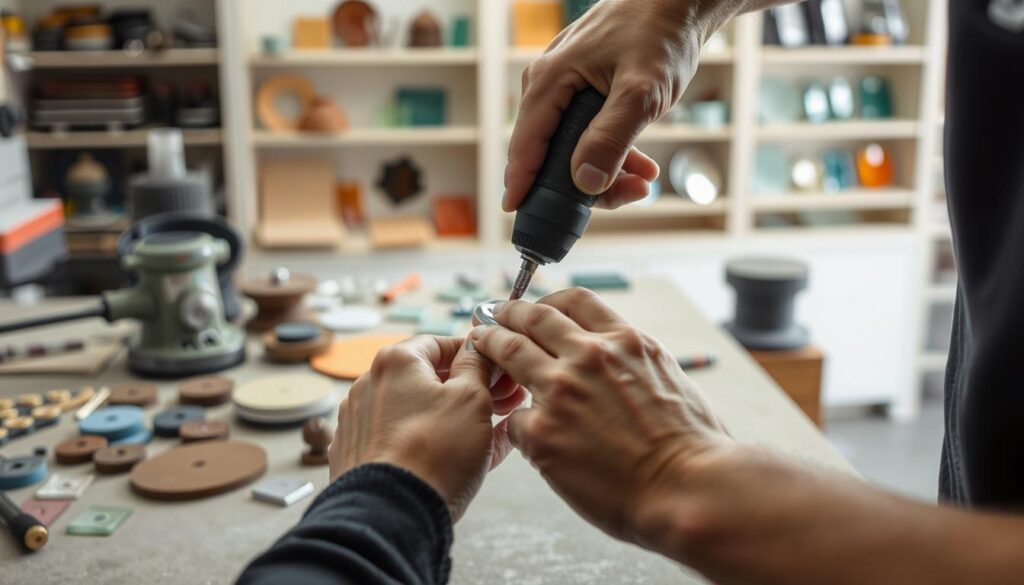
Rotary tools, like the Dremel 3000, are versatile for detailed work. They’re perfect for engraving, etching, and fine grinding. Pair them with diamond or carbide bits for maximum precision.
Wet grinders are essential for larger projects. They use water to cool the glass, preventing overheating and cracks. These tools are ideal for shaping and smoothing edges, giving your piece a polished finish.
| Tool | Purpose | Key Feature |
|---|---|---|
| Glass Cutters | Scoring and cutting | Clean, precise edges |
| Diamond Hand Pads | Smoothing and shaping | Durable, fine grit |
| Rotary Tools | Detailing and engraving | Versatile, precise |
| Wet Grinders | Shaping and smoothing | Water-cooled, prevents cracks |
Safety is paramount. Always wear goggles, dust masks, and gloves to protect yourself. With the right tools and precautions, your glass projects will shine.
Step-by-Step Guide to Cold Working Techniques
Perfecting your glass art involves mastering essential finishing steps. From shaping to polishing, each stage requires precision and the right tools. Below, we’ll walk you through the process to achieve a flawless finish.

Cutting and Shaping Your Glass
Start by marking the glass where you want to make the cut. Use an oil-free carbide wheel cutter to score the surface. Apply even pressure to ensure a clean line. Once scored, snap the glass along the line using pliers or a breaking tool.
Refine the edge with a grinder to remove any sharpness. This step ensures safety and prepares the piece for further refinement. Always wear protective gear to avoid injuries.
Grinding and Smoothing Edges
Next, use diamond burrs or a wet grinder to smooth the edges. Begin with a 6-micron grit and gradually move to finer grits like 1-micron. This progression eliminates roughness and creates a uniform surface.
Keep the glass cool by using water during grinding. This prevents overheating and potential cracks. Take your time to achieve the desired smoothness.
Polishing for a Professional Finish
For a mirror-like shine, apply diamond paste with felt bobs. Start with a coarse paste and transition to finer options. This method removes scratches and enhances the glass’s clarity.
If you prefer, fire polishing in a kiln is an optional final step. It melts the surface slightly, creating a smooth, glossy finish. Ensure the piece is properly annealed before proceeding.
- Mark, score, and snap glass carefully to avoid chipping.
- Use diamond tools for precise grinding and smoothing.
- Polish with varying grits for a scratch-free surface.
By following these steps, you’ll transform your glass into a polished masterpiece. Patience and attention to detail are key to achieving stunning results.
Advanced Cold Working Techniques
Taking your glass art to the next level involves mastering advanced finishing methods. These techniques allow you to add intricate details and textures, transforming your piece into a true masterpiece. Below, we’ll explore two key methods: engraving and sandblasting.
Engraving and Etching
Engraving is a precise method for adding intricate designs to your glass. Use rotary tools with diamond burrs or Medicool Pro Power 35K micro motors for detailed work. These tools let you carve patterns, names, or even images into the material.
For a frosted finish, try etching with Armour Etch cream. This method is simple and dishwasher-safe, making it ideal for functional pieces like glasses or plates. Whether you’re a beginner or an experienced artist, these tools offer endless creative possibilities.
Sandblasting for Texture and Depth
Sandblasting adds texture and depth to your glass. Start by applying resist materials like vinyl or masking tape to protect areas you don’t want to blast. Use aluminum oxide media in a safety enclosure to achieve consistent results.
Experiment with gradients by varying the blasting intensity or using stencils. This technique is perfect for creating layered effects or adding a professional touch to your projects. For expert-level work, consider investing in a laser engraver for unmatched precision.
| Technique | Tools | Best For |
|---|---|---|
| Engraving | Diamond burrs, rotary tools | Intricate designs, personalization |
| Etching | Armour Etch cream | Frosted finishes, functional pieces |
| Sandblasting | Aluminum oxide media, stencils | Texture, depth, gradients |
These advanced methods elevate your glass art, allowing you to create unique and professional-quality pieces. With the right tools and a bit of practice, you’ll unlock new creative possibilities.
Safety Tips for Cold Working Glass
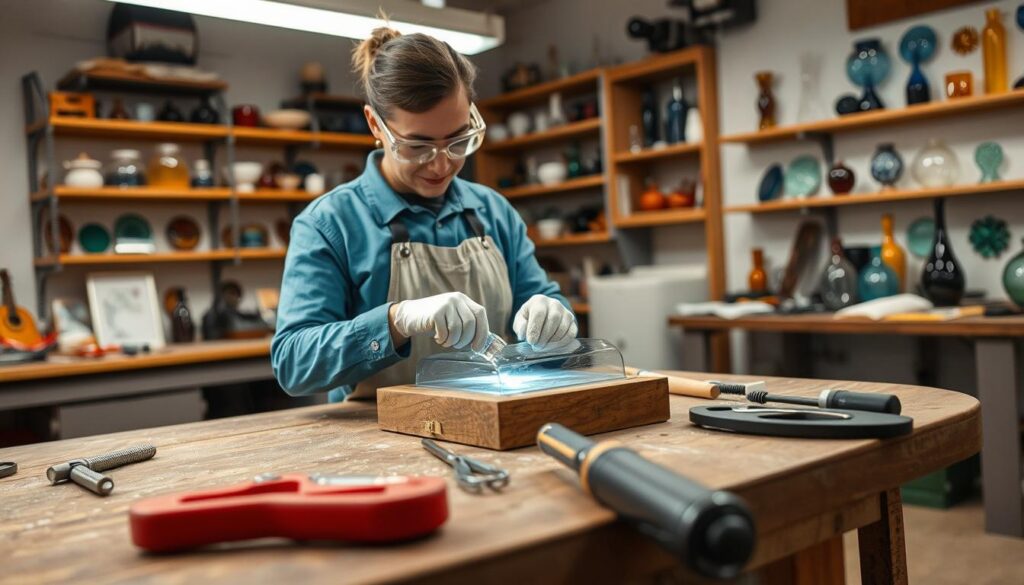
Safety is a top priority when refining glass art. Proper precautions protect you and ensure high-quality results. Always wear ANSI-approved goggles, N95 masks, and cut-resistant gloves. These items shield your eyes, lungs, and hands from harm.

Use water to cool your tools and suppress silica dust during grinding or drilling. This prevents overheating and reduces airborne particles. Ensure your workspace is well-ventilated to maintain clean air.
Always let the glass cool completely before handling it. Thermal shock can cause cracks or breaks, ruining your piece. If you accidentally cut yourself or inhale dust, clean the wound or seek fresh air immediately. Keep a first-aid kit nearby for emergencies.
For detailed guidelines on managing silica dust, refer to OSHA’s safety standards. Following these tips ensures a safe and enjoyable creative process.
Key Considerations for Successful Cold Working
Achieving flawless results in glass art requires careful attention to detail and the right approach. Two critical factors to focus on are selecting the proper abrasives and preventing thermal shock. These steps ensure your piece remains durable and visually stunning.
Choosing the Right Abrasives
Selecting the correct abrasives is essential for a smooth finish. Start with coarse grits, like 80-150, for shaping the material. Gradually transition to finer grits, such as 1,200 or 1-micron paste, for polishing. This progression removes scratches and creates a mirror-like shine.
Using improper abrasives can lead to uneven surfaces or damage. Always match the grit to the task. For example, diamond pads are ideal for shaping, while felt bobs with diamond paste work best for polishing.
Preventing Thermal Shock
Thermal shock occurs when glass experiences sudden temperature changes. To avoid this, let your piece stabilize at room temperature after fusing. This step ensures the material is stable and ready for the process.
For high-stress projects, consider post-coldworking annealing. This additional step reduces internal stress, making the glass more durable. Always handle your piece with care to maintain its integrity.
| Abrasive Type | Grit Range | Best Use |
|---|---|---|
| Coarse Grits | 80-150 | Shaping and initial smoothing |
| Medium Grits | 400-800 | Intermediate smoothing |
| Fine Grits | 1,200+ | Polishing and finishing |
By following these guidelines, you’ll achieve professional-quality results. Remember, patience and precision are key to mastering the process.
Conclusion
Elevating your glass art to professional levels involves mastering essential finishing methods. The cold working process transforms raw pieces into polished masterpieces, adding durability and beauty. Experiment with advanced techniques like sandblasting or laser engraving to create unique textures and designs.
Always prioritize safety by wearing protective gear and using quality diamond tools. Joining communities like the Contemporary Glass Society can help you refine your skills and connect with fellow artists.
Finally, showcase your finished pieces online or at local galleries. Sharing your work not only inspires others but also highlights the transformative power of this process. Start refining your art today and watch it shine!
