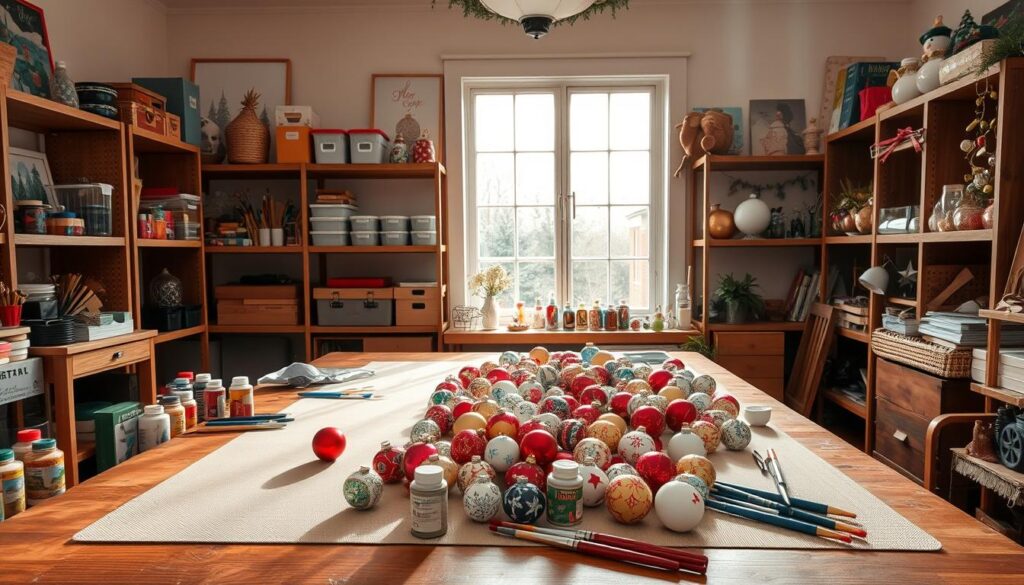
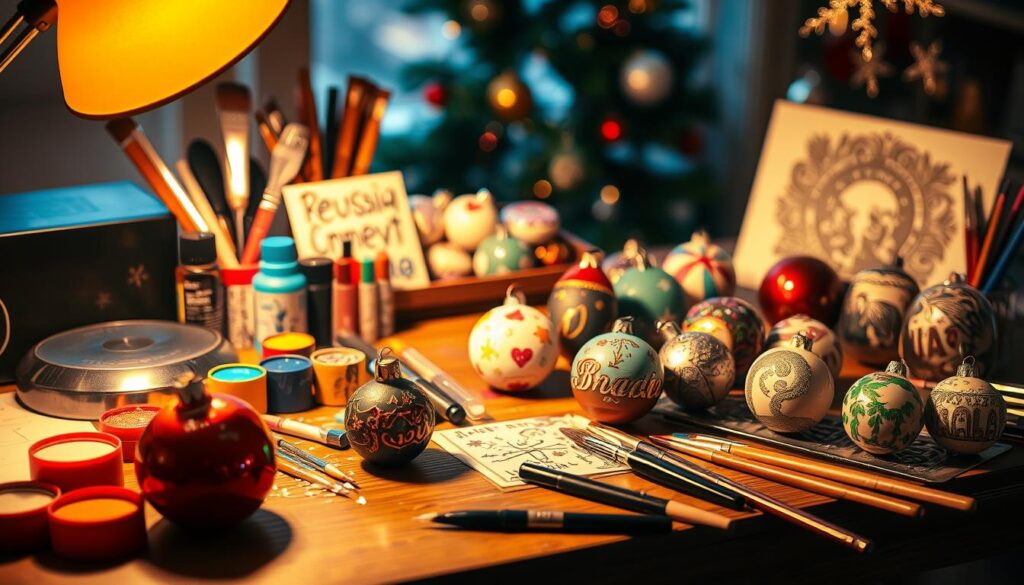
Transform plain decorations into shimmering treasures without breaking the bank. While store-bought metallic pieces often cost $16+ each, our methods let you craft unlimited designs for pennies. These creations become cherished keepsakes that add personality to your space.
Discover three beginner-friendly approaches through this guide. Achieve mercury glass effects using spray paints, create vintage textures with chalk finishes, or add intricate details using specialized paints. Each technique works with standard clear glass ornaments, letting you match any color scheme.
Beyond saving money, handmade pieces carry emotional value. As shown in this holiday craft project collection, personalized decorations strengthen family traditions. You’ll create gifts that friends remember for years.
No advanced skills are needed. Our step-by-step methods ensure success whether you’re new to crafting or a seasoned DIYer. Start with basic supplies from local stores, and watch ordinary spheres become extraordinary showpieces.
Understanding Holiday Projects: Painting Christmas Ornaments and Seasonal Glass Decor
Turn ordinary spheres into luminous art through layered techniques anyone can master. Unlike mass-produced items, these creations capture light like prisms while reflecting your personal style. The magic lies in combining basic supplies with clever methods that mimic high-end finishes.
Signature Features of Handcrafted Pieces
Three approaches deliver distinct results. Looking Glass spray creates antique mercury effects when paired with vinegar. Chalk-based sprays form matte backgrounds for metallic wax accents. For precision work, transparent paints like Pebeo Vitrail let light pass through detailed patterns.
Standard acrylics peel off smooth surfaces, but specialized formulas bond permanently. This ensures your designs withstand handling and storage. Hand-blown variants add organic texture, while machine-made options offer flawless symmetry.
Essential Components for Success
Clear bases act as your canvas, amplifying light refraction. Mineral spirits clean brushes between colors without smudging. Metallic waxes add depth to flat finishes, transforming simple shapes into heirloom-quality displays.
These methods adapt to various skill levels. Beginners achieve stunning results with spray techniques, while experienced makers explore intricate brushwork. Finished works transition effortlessly from winter displays to spring centerpieces, proving their value beyond December.
Get Ready: Materials and Tools for Your DIY Ornament Projects
Gathering the right tools unlocks endless creative possibilities for your decor projects. Whether creating metallic masterpieces or detailed painted designs, quality materials ensure professional results. Let’s explore what you’ll need and where to find it.
Comprehensive List of Supplies
Your toolkit varies by technique but shares core components. For mercury effects:
- Looking Glass spray and metallic paints
- Vinegar-water solution in spray bottle
- Hairdryer for quick drying
Chalk paint methods require:
- Charcoal chalk spray base
- Plastic bags for texture creation
- Rub n’ Buff wax ($20)
Hand-painted designs demand:
- Pebeo Vitrail paints (light-permeable formulas)
- Fine brushes for details
- Mineral spirits for cleanup
Where to Source Your Materials
Major craft chains like Michael’s stock 90% of these items. For unique textures:
- Choose hand-blown spheres from local artisans
- Buy clear bases in bulk during January sales
Invest in reusable tools like quality brushes. Store leftover paints properly – most remain viable for 12-18 months. Smart shopping strategies let you craft stunning pieces year-round without overspending.
Prepping Your Workspace and Safety Essentials
Your crafting results depend as much on preparation as technique. A strategic setup prevents messes and ensures consistent quality across all pieces. Follow these guidelines to create an efficient, safe environment for your creative process.

Setting Up a Well-Ventilated Area
Choose spaces with cross-ventilation like garages or outdoor patios. Open windows and use fans to circulate air when working indoors. This prevents fumes from spray paints or solvents from accumulating.
Position your worktable away from fabrics or furniture. Keep children and pets out of the area until materials dry completely. A box fan placed 6 feet away accelerates airflow without disturbing wet surfaces.
Protecting Your Surfaces During the Project
Cover tables with washable drop cloths or layered newspaper. Remove ornament tops immediately – paint on metal caps creates uneven finishes. Use masking tape to label caps if mixing designs.
Create drying stations by hammering wooden dowels into scrap boards. Space them 4 inches apart to prevent pieces from touching. For final drying phases, repurpose plastic packaging trays to hold items upside-down.
| Workspace Element | Purpose | Pro Tip |
|---|---|---|
| Ventilation | Dissipates chemical fumes | Use box fans facing outward |
| Surface Covers | Prevents permanent stains | Layer newspaper under drop cloths |
| Drying Station | Avoids smudges | Angle dowels at 15° for stability |
Keep mineral spirits and paper towels within arm’s reach. Work on three pieces at a time – this way maintains focus while allowing proper drying intervals. Smart prep turns complex projects into manageable tasks.
Step-by-Step Techniques to Transform Clear Glass Ornaments
Master three transformative techniques that turn basic spheres into dazzling displays. These methods use common supplies to create finishes rivaling boutique decorations. Follow precise sequences to achieve consistent results every time.
Creating the Metallic Base Effect
Start by removing the ornament top. Shake your Looking Glass spray vigorously for 60 seconds. Hold the can 8 inches away while spraying short bursts inside the sphere. Rotate the piece continuously to distribute paint evenly.
Immediately mist a 50/50 vinegar-water solution into the wet coating. Use a hairdryer on low heat to accelerate drying. This chemical reaction creates the signature mercury glass mottling effect within minutes.
Achieving the Mercury Glass Look
Layer metallic accents once the base dries. Apply gold spray using the same burst-and-roll method. Add another vinegar mist before drying. Repeat with bronze paint for depth.
Skip the final vinegar application for darker backgrounds. This makes the mercury effect pop dramatically. Each layer cures faster than the first – wait 7 minutes between coats.
Finishing Touches with Rub n Buff
For chalk-painted versions, spray pieces with matte base coats first. Let dry overnight. Place each sphere in a plastic bag with pea-sized Rub n’ Buff.
Seal the bag and massage the paste through the plastic. The wax transfers evenly without fingerprints. Buff gently with soft cloths for museum-quality shine.
Troubleshooting and Customization Ideas for Your Ornaments

Even skilled crafters encounter challenges when working with delicate surfaces. These solutions and creative twists help refine your process while adding personal flair to each piece.
Overcoming Drying and Paint Application Issues
Sticky surfaces signal incomplete curing. Let paint dry completely for 24+ hours – rushing causes peeling. If clear spots remain, apply another layer using the spray-and-roll method with vinegar mist.
Humidity slows drying. Use a dehumidifier or space heater in damp areas. For texture variations, embrace slight imperfections – they create authentic character. Wipe errors quickly with mineral spirits before layers set.
Personalizing with Unique Colors and Textures
Swap traditional gold for copper or rose gold finishes. Mix metallic shades on one sphere using cotton swabs. Create ombré effects by spraying darker hues at the base.
Add names or dates with oil-based markers. Seal details with clear acrylic spray. Group DIY ornament sets by color themes or family milestones for cohesive displays.
Test combinations on spare glass first. Record ratios for replicating favorite looks next year. Your unique ideas transform simple crafts into legacy pieces.
Creative Inspiration for Seasonal Home Decor
Your handmade creations deserve spotlight moments beyond evergreen branches. Discover fresh approaches to showcase their beauty while enhancing your living spaces. These concepts work equally well in modern apartments and traditional houses.
Innovative Ways to Display Your Ornaments
Fill tall cylinder vases with mixed-size pieces for radiant table centerpieces. Layer them with fairy lights or faux snow for added dimension. Transparent spheres catch sunlight by windows, casting prism-like patterns on walls.
Arrange smaller pieces on lacquered trays with pine sprigs and cinnamon sticks. This creates movable displays that refresh shelves or coffee tables. Oversized DIY ornaments make striking bookcase accents when paired with metallic bookends.
Integrating Handmade Pieces Into Existing Displays
Weave custom creations through staircase garlands or mantel swags. Their reflective surfaces amplify twinkle lights without blocking glow. Match finishes to your color story – charcoal accents modern neutrals, while gold elevates classic red schemes.
Cluster three large spheres as a dining table runner alternative. Space them between tapered candles for balanced proportions. This approach lets your unique designs shine while maintaining functional surfaces.
