Imagine creating gallery-worthy designs without brushes, palettes, or messy cleanup. Modern crafters now use specialized tools that combine precision control with bold, lasting colors. These innovative solutions let you turn everyday objects into personalized masterpieces.
Unlike traditional methods, these devices work like regular writing instruments but deliver paint-level coverage. Their water-based formulas allow seamless blending for custom shades, while oil-based options provide weather-resistant finishes. Choose fine tips for intricate patterns or broad nibs for filling large areas effortlessly.
You’ll appreciate how they adhere to metal mugs, wooden signs, and even denim jackets. Their quick-drying nature means no smudges between layers. Best of all, there’s zero need for primers or special training – just uncap and start designing.
Both novices and professionals favor these tools for their instant usability and professional results. Whether refreshing old furniture or crafting holiday ornaments, you get vibrant outcomes in minutes. Discover how adaptive tip sizes and color-rich formulas make every project feel achievable.
Getting Started with Paint Pens and Markers
Unlock the full potential of your craft projects with tools that combine precision and versatility. Before diving into designs, proper setup ensures smooth results. Let’s explore how to activate your tools and master foundational methods.
Preparing Your Tools
New paint pens require a simple “burping” process. Press the tip gently on scrap paper until paint flows evenly. This removes air bubbles and primes the tip for consistent application.
Water-based formulas let you blend colors effortlessly. Apply two shades side by side, then use a damp brush to create gradients. For oil-based paint markers, shake vertically for 30 seconds to mix pigments thoroughly.
Mastering Core Skills
Choose your tips wisely: extra-fine for details, brush-style for broad strokes. Practice light pressure for thin lines and firm pushes for thicker coverage. Test strokes on cardboard first to gauge flow.
| Marker Type | Best For | Drying Time | Blending Ability |
|---|---|---|---|
| Water-Based | Paper, Fabric | 2-5 minutes | High (with water) |
| Oil-Based | Metal, Glass | 10-15 minutes | Low |
| Acrylic | Wood, Plastic | 5-8 minutes | Medium |
Acrylic paint markers offer a middle ground between quick-drying and durable finishes. Their easy use makes them ideal for beginners tackling multiple surfaces. Remember to cap tightly after each session to prevent drying.
Essential Art Supplies for Your Projects
Building your creative toolkit starts with understanding which supplies adapt to diverse surfaces and styles. The right combination of tools lets you tackle everything from fabric patterns to glass etchings with confidence.

Choosing the Right Tools and Materials
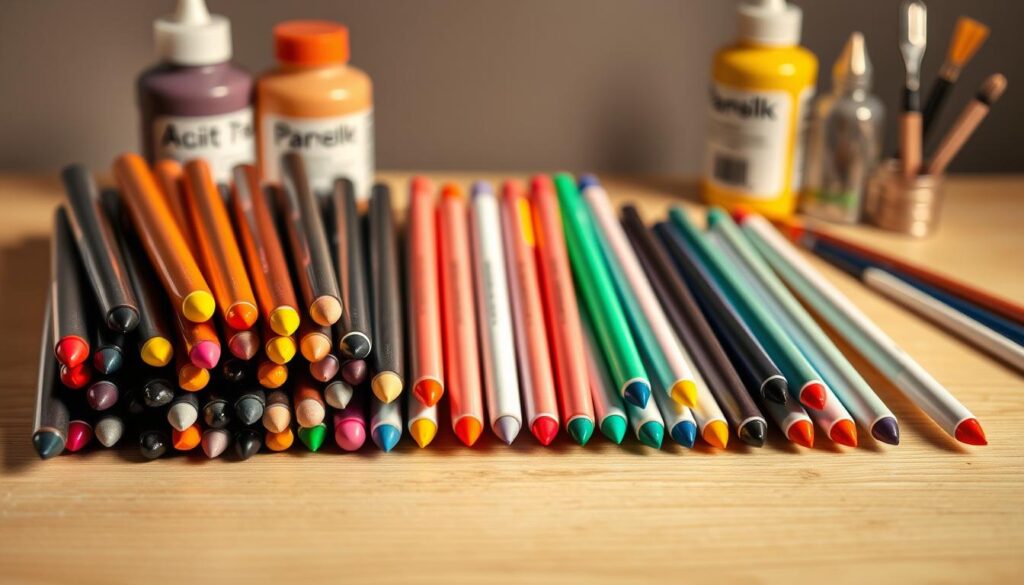
Multi-pack paint pens offer beginners a cost-effective way to experiment. These sets include primary colors and multiple tip sizes – ideal for testing techniques on wood, ceramic, or denim. Check labels for surface compatibility: oil-based formulas stick to slick materials like glass, while water-based work best on porous surfaces.
Tip size dramatically affects your results. Use fine tips for lettering outlines or intricate botanical designs. Switch to broad nibs when filling large geometric shapes. For mixed-media projects, consider acrylic markers that bond to both plastic and metal.
Create dynamic palettes by layering translucent colors over opaque bases. Vibrant hues show best on dark surfaces when using high-coverage formulas. Always test opacity on scrap materials – some paints require 2-3 coats for full intensity.
Quality matters for lasting results. Look for:
- Tips that retract to prevent drying
- Fade-resistant pigments
- Smooth flow without clumping
Pair your markers with stencils for crisp shapes and UV-protective sprays to shield outdoor pieces. These extras help beginners achieve polished looks while developing personal styles.
Painting with Enamel Pens and Markers: Quick and Easy Decorative Ideas
Transform basic surfaces into eye-catching art using layered methods that require minimal supplies. Achieve professional-grade results through these adaptable approaches.
Create soft watercolor washes by applying paint lightly and blending with a damp brush. Layer translucent hues over dried bases for depth. This mimics traditional watercolors without the learning curve.
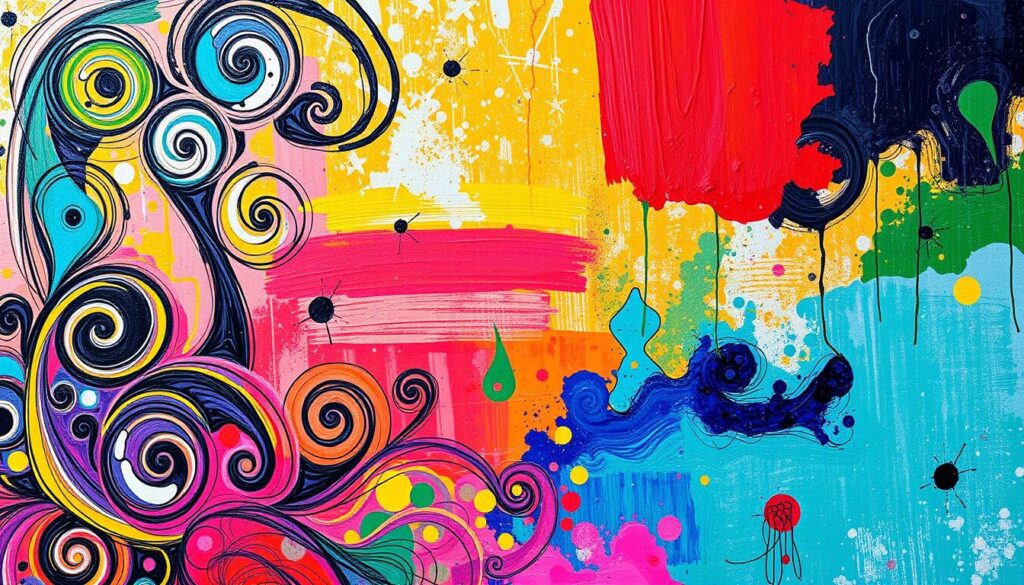
For bold faux-alcohol ink effects, apply dots of contrasting colors. Tilt your surface to let pigments flow organically. Use a straw to direct patterns before they dry. The result? Dynamic abstract designs in minutes.
| Technique | Tools Used | Key Benefit |
|---|---|---|
| Silhouettes | Fine-tip markers | Sharp contrast |
| Gradient Washes | Medium nib pens | Smooth transitions |
| Pattern Repeats | Stencil + Broad tip | Consistent shapes |
Build striking silhouettes by pairing gradient backgrounds with solid foreground elements. Outline shapes first, then fill completely for crisp edges. This works exceptionally well on glassware and dark surfaces.
Try these time-efficient projects:
- Polka dot mugs using circular stencils
- Geometric plant pots with masking tape guides
- Ombré notebook covers with blended hues
Rotate between pens and markers to vary line thickness within single designs. Let each layer dry completely before adding details. Store tools horizontally to maintain tip quality between uses.
Creative DIY Rock Painting Ideas
Turn ordinary stones into vibrant keepsakes using techniques that highlight natural textures. Whether crafting garden markers or decorative accents, paint pens give you precise control over curves and crevices. Start by cleaning rocks with soapy water and letting them dry completely – this ensures colors stay bright.
Floral, Mandala, and Silhouette Designs
Create flowing flower vines by following the rock’s edges with thin-tip pens. Build depth by layering petal shades – start with light hues, then add darker tones near centers. For mandalas, mark the center dot and expand outward using repeating shapes like teardrops or triangles.
Silhouettes work best on smooth, flat surfaces. Paint sunset backgrounds using blended oranges and purples, then outline animals or trees in black. Let the base dry before adding foreground details to prevent smudging.
Tips for Achieving a Watercolor Glow and Blending Effects
Press two paint pen tips together on scrap paper to mix custom shades. Apply lightly for translucent layers, building intensity gradually. Use a damp brush to soften edges and create glowing halos around designs.
| Technique | Best For | Drying Time |
|---|---|---|
| Tip Blending | Gradients | 3 minutes |
| Wet Brush | Watercolor Effects | 5 minutes |
| Layering | 3D Texture | 10 minutes |
Explore seasonal rock painting ideas like autumn leaves or snowflakes. Always seal finished pieces with clear acrylic spray for outdoor durability.
Easy Art on Diverse Surfaces
Expand your creative possibilities by mastering surface-specific techniques. Different materials demand unique approaches for optimal results. Learn how to adapt your methods for wood, fabric, and glass projects.

Using Paint on Wood, Fabric, and Glass
Wood surfaces need light sanding before application. This helps the paint grip natural grooves. For fabric, pre-wash items to remove sizing chemicals that cause uneven absorption.
Glass requires alcohol cleaning to eliminate oils. Apply thin layers to prevent streaking. Let each coat dry completely before adding details.
| Surface | Prep Steps | Drying Time | Key Tip |
|---|---|---|---|
| Wood | Sand + Wipe | 20 minutes | Follow grain direction |
| Fabric | Wash + Iron | 24 hours | Heat-set with iron |
| Glass | Alcohol Wipe | 1 hour | Use light pressure |
For fabric designs, heat-setting makes colors permanent. Place parchment paper over your design and iron for 30 seconds. This prevents cracking during washing.
On glass surfaces, rotate your project while working to maintain consistent angles. Fix mistakes quickly with cotton swabs dipped in rubbing alcohol.
Innovative Craft Ideas with Paint Markers
Redefine ordinary items into signature pieces through paint marker magic. These versatile tools let you refresh tired objects or customize blank canvases with professional flair. Discover fresh applications that merge practicality with artistic expression.
Custom Sneakers, Upcycled Furniture, and Glass Jar Art
Transform plain sneakers into wearable masterpieces. Clean surfaces with rubbing alcohol first. Use stencils for crisp logos or freehand abstract patterns. Seal designs with fabric protector spray for durability.
Revive old furniture with geometric accents. Tape off sections for clean lines. Layer metallic markers over matte bases for depth. Distress edges lightly with sandpaper for vintage charm.
| Project Type | Best Surfaces | Key Technique |
|---|---|---|
| Sneakers | Canvas, Leather | Stencil Layering |
| Furniture | Wood, Metal | Color Blocking |
| Glass Jars | Transparent Glass | Reverse Painting |
Create stained-glass effects on jars by painting the insides. Let light shine through translucent colors. Cure pieces in oven for dishwasher-safe finishes.
Personalizing Phone Cases and Other DIY Projects
Design phone cases that reflect your style. Wipe surfaces with alcohol wipes first. Use fine-tip pens for intricate mandalas or bold quotes. Cure under UV light for scratch resistance.
Explore these fun ways to expand your creativity:
- Laptop covers with cosmic nebula patterns
- Seasonal coasters using holiday motifs
- Ceramic planters with botanical illustrations
Mix media by combining paint markers with washi tape or glitter. Build texture through dotting techniques. Cure each layer thoroughly before adding new elements.
Step-by-Step Easter Egg Decorating with Paint Pens
Elevate your holiday traditions with precision-crafted Easter eggs using versatile paint pens. Whether creating edible decorations or lasting keepsakes, these tools deliver crisp lines and vibrant colors on curved surfaces.
Hard-Boiled vs. Wooden Easter Eggs: What to Choose
Hard-boiled eggs suit short-term projects. Boil water, remove from heat, then let eggs sit covered for 10-12 minutes. Cool completely before decorating. Use cardboard cartons as holders to prevent rolling.
Wooden eggs offer permanent display options. Their smooth surface accepts multiple designs without spoilage concerns. Ideal for family signatures or annual collections.
| Egg Type | Durability | Best Use | Design Tips |
|---|---|---|---|
| Hard-Boiled | 3-7 days | Egg hunts, meals | Use water-based pens |
| Wooden | Years | Keepsakes, ornaments | Seal with clear coat |
Creative Floral, Doodle, and Inspirational Designs
Start with simple shapes: stripes, dots, or zigzags. Progress to wrapped vines using thin-tip pens. Add floral clusters by layering petal colors from light to dark.
For doodle art:
- Divide eggs into sections with faint pencil lines
- Fill each zone with unique patterns
- Connect elements with swirling tendrils
Inspirational lettering shines with these steps:
- Write words first using pencil guides
- Outline letters with metallic pens
- Add shadow effects for depth
Fix smudges quickly with cotton swabs. Rotate eggs frequently to maintain perspective. Let each layer dry 5 minutes before adding details.
Conclusion
Your creative journey just found its ultimate shortcut. When you use paint pens, prep time vanishes – dive straight into creating. Whether refreshing old items or crafting new decor, these tools deliver lasting results without complex techniques.
Their adaptability shines across materials – from kitchenware to outdoor signs. No more waiting for layers to cure. Precision tips handle delicate linework and bold color blocks effortlessly.
Durability stands out. Designs withstand years of daily use and weather changes. This makes them perfect for functional art like labeled jars or personalized gifts.
Don’t limit your imagination. Experiment with bold ideas and fresh techniques. The world becomes your canvas when tools adapt this smoothly to your vision.
Grab your favorite set and transform ordinary things into extraordinary statements. Every stroke fuels your creativity – what will you make today?
