Outdoor spaces are becoming more inviting with creative lighting solutions. One popular trend is using handmade lanterns to enhance patios and gardens. These lanterns are not just for nighttime; they also serve as beautiful daytime decorations.
Perfect for summer evenings, these lanterns create a magical ambiance. You can use battery-operated candles or fairy lights for safety and convenience. This makes them ideal for gatherings on your patio or in your garden.
This craft project is beginner-friendly, offering professional-looking results. You can draw inspiration from various approaches, such as painting or using tissue paper. The versatility of these lanterns extends to indoor decor and special events.
Discover more about this creative lighting project and how it can transform your space. With just a few simple steps, you can create a warm and inviting atmosphere for any occasion.
Introduction to DIY Glass Jar Lanterns
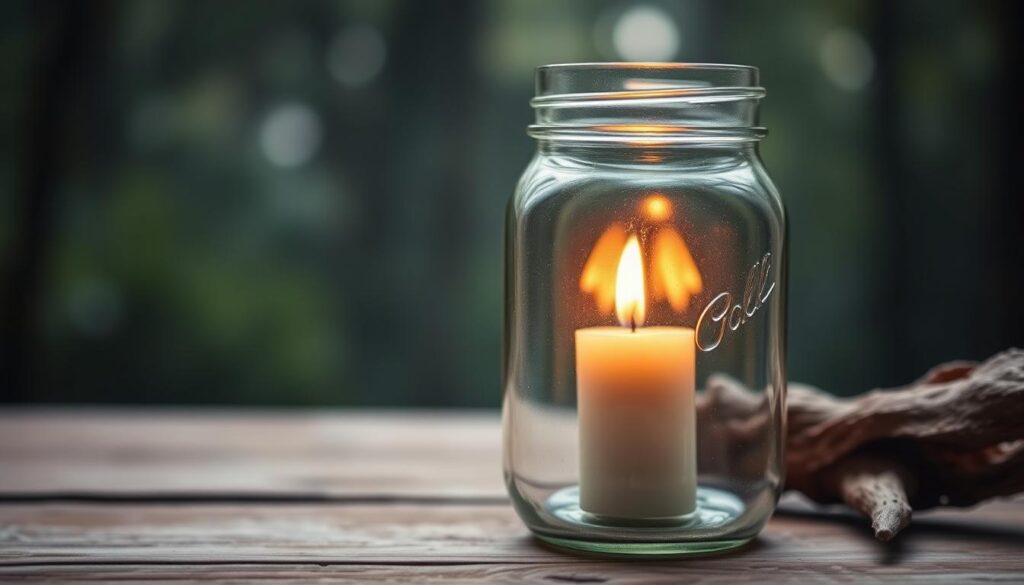
Turn ordinary containers into decorative pieces that shine both day and night. These jar lanterns are a great way to upcycle household items like pickle jars or mason jars. By transforming them into artistic light sources, you can create unique decorations for your patio or indoor spaces.
Different techniques, such as painting or using tissue paper, allow you to experiment with colors and patterns. For a more textured look, consider adding gems or beads. These methods not only enhance the aesthetic but also diffuse lighting beautifully at night.
Safety is a priority, and battery-operated lights are a practical choice. They eliminate the risks of traditional candles while providing a warm glow. For outdoor use, opt for weather-resistant adhesives and paints to ensure durability.
These lanterns are versatile and perfect for any season. Use them for summer parties, holiday themes, or year-round decor. They also make charming additions to kids’ rooms or special events. Discover more about this creative lighting project and start crafting your own today.
Materials Needed for DIY Glass Jar Lanterns
Creating beautiful lighting pieces starts with gathering the right materials. Whether you’re a beginner or an experienced crafter, having the proper supplies ensures a smooth and enjoyable process. Below, we’ve outlined everything you’ll need to bring your vision to life.

Essential Supplies
Start with the basics. You’ll need jars of various sizes, such as mason, pickle, or pasta sauce jars. These provide the foundation for your project. For lights, consider fairy lights, tea lights, or LED firefly strings. Each option offers a unique ambiance.
Adhesives are crucial for securing decorations. RapidFuse Ultra Clear All Purpose Adhesive is ideal for attaching gems, while Mod Podge works best for tissue paper crafts. Choose glossy, matte, or outdoor variants based on your needs.
Tools Required
Having the right tools makes the process easier. Craft clamps ensure secure bonding, while decorative scissors add a polished finish. Don’t forget cleaning supplies like rubbing alcohol or acetone for glue cleanup.
For handles, explore options like twine-wrapped wire, beaded strands, or copper handles. These add both functionality and style to your lanterns.
| Adhesive Type | Best Use | Key Features |
|---|---|---|
| RapidFuse Ultra Clear | Gems and beads | Weather-resistant, strong bond |
| Mod Podge | Tissue paper crafts | Versatile finishes (glossy/matte/outdoor) |
Optional accessories like stencils and spray adhesive can elevate your design. With these supplies and tools, you’re ready to start your craft project.
Step-by-Step Guide to Creating DIY Glass Jar Lanterns
Transform simple materials into stunning decor with this easy guide. Follow these steps to create beautiful lanterns that brighten any space. Each step is designed to be beginner-friendly, ensuring professional-looking results.
Step 1: Prepare the Glass Jar
Start by cleaning your jar thoroughly. Use soap and water or rubbing alcohol to remove any residue. This ensures the adhesive bonds properly. Let it dry completely before moving to the next step.
Step 2: Attach Bingo Chips and Glass Gems
Apply hot glue or a strong adhesive to the glass surface. Place bingo chips or gems in your desired pattern. Use a dot application method for precision. Let it dry for 30 minutes to ensure a secure bond.
Step 3: Create the Lantern Handle
Choose a handle style that suits your design. Options include braided wire, beaded strands, or twine wraps. Attach it securely to the jar’s rim using glue. Allow it to dry completely before handling.
Step 4: Final Touches
Add any finishing touches, such as a basecoat or finishing coat with Mod Podge. This enhances durability and adds a polished look. Let it dry for another 30 minutes. Once dry, insert lights to complete your lantern.
This project is a fun and creative way to enhance your space. With these steps, you’ll have a beautiful lantern in no time.
Creative Variations for DIY Glass Jar Lanterns
Explore endless possibilities to personalize your handmade decor. With a few creative tweaks, you can transform simple designs into unique masterpieces. These variations allow you to experiment with colors, lights, and decorative elements to match your style.

Using Different Colors and Patterns
Play with colors and patterns to make your lanterns pop. Use Apple Barrel® Gloss White paint for a clean, modern look. For a stained-glass effect, layer tissue paper in vibrant hues. This technique diffuses light shine beautifully, creating a warm ambiance.
Experiment with ombre spray patterns or metallic accents for a sophisticated touch. These methods are a great way to add depth and texture to your crafts.
Incorporating LED Lights
Upgrade your lanterns with innovative lights. Color-changing LEDs or remote-controlled options offer versatility and convenience. These are perfect for creating different moods or themes for any occasion.
For child-friendly versions, use safety-sealed battery packs. This ensures a safe and durable light source for kids’ rooms or parties.
Adding Decorative Elements
Enhance your lanterns with mixed-media approaches. Combine clear gems with painted designs for a sparkling effect. Use seashells for a beach theme or leaf motifs for a garden-inspired look.
Functional upgrades like hanging systems with S-hooks make your lanterns versatile. Clustered groupings with height variations create a stunning display. These pieces are perfect for both indoor and outdoor settings.
Conclusion
Bringing a personal touch to your outdoor or indoor spaces has never been easier. This project offers a great way to create cost-effective decor that stands out. Whether for your patio or a summer gathering, these handmade pieces add charm and warmth.
Experiment with the techniques you’ve learned to make each piece unique. Hosting a craft party can also be a fun way to engage friends and family. It’s a creative activity that fosters community and shared creativity.
For those looking to turn this hobby into a small business, consider selling your creations at local fairs or online. Proper maintenance, like storing lights safely and using weather-resistant materials, ensures long-lasting beauty.
Share your creations on social media to inspire others. Always prioritize safety by avoiding open flames and protecting your decor from harsh weather. This way, your jar lanterns will continue to brighten your space for years to come.