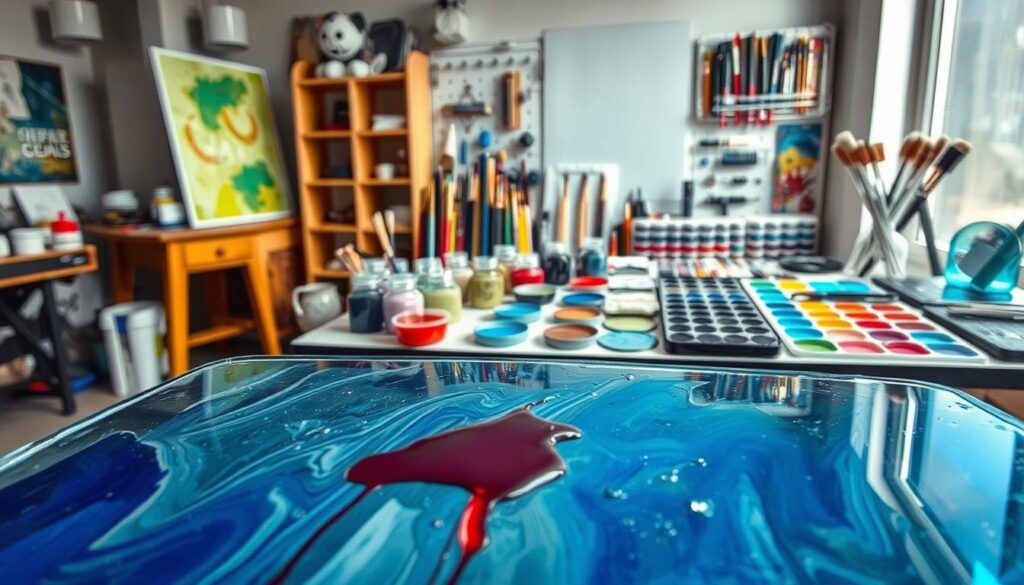
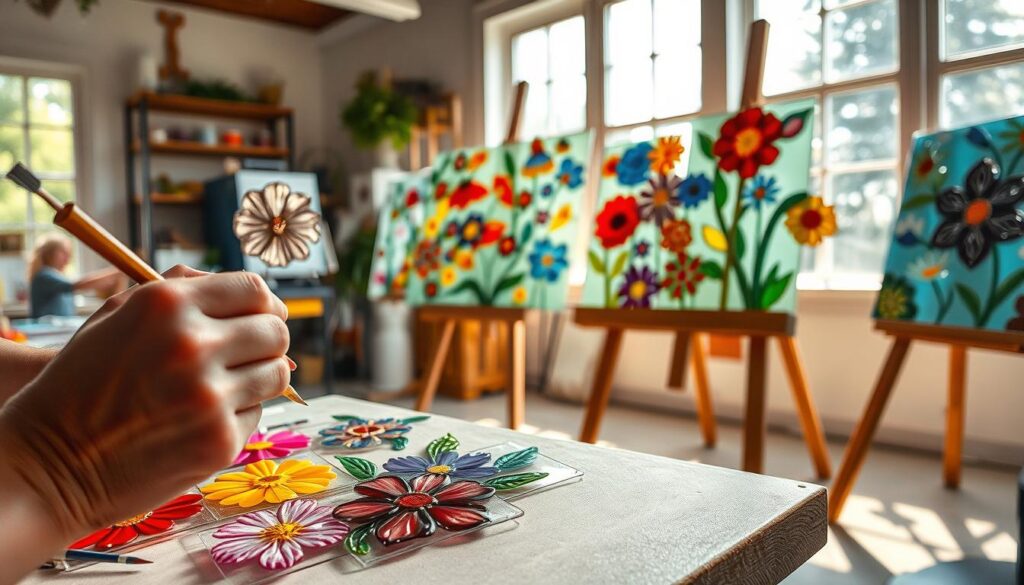
Creating luminous artwork on transparent surfaces requires more than artistic talent. Specialized knowledge separates amateur attempts from gallery-worthy pieces that catch light like Manhattan skyscraper installations. Whether designing decorative items or architectural features, your success starts before the first brushstroke.
Many creators underestimate how surface chemistry affects adhesion and durability. Unlike canvas or wood, smooth planes demand specific preparation methods. The wrong primer or cleaning solution can ruin months of work within weeks.
Acrylic paint formulations vary widely in opacity and flexibility. Some brands crack under temperature changes, while others lose vibrancy when sealed. You’ll discover why professionals layer multiple product types to achieve depth without compromising structural integrity.
Environmental factors play a surprising role too. Humidity levels during application impact drying times, and UV exposure determines how long colors stay true. This guide reveals how to control these variables using accessible tools and techniques perfected in studio environments.
Understanding the Importance of Glass Painting Technique
Transforming clear panels into vibrant masterpieces hinges on methodical preparation. Every decision shapes your artwork’s longevity and visual impact, from paint selection to environmental control. Professionals treat each project like a chemistry experiment, balancing materials with precision.
Setting the Stage for a Professional Finish
Surface quality dictates outcomes more than brush skills. Even premium acrylic paint fails on dusty or oily planes. Wipe surfaces with isopropyl alcohol and microfiber cloths—never paper towels. This removes invisible residues that cause peeling.
How Your Approach Impacts the Final Look
Water-based and oil-based systems demand different strategies. Acrylics dry faster but require layered application, while enamel offers durability at the cost of flexibility. Consider these factors:
- Drying times triple in humidity above 60%
- Temperature swings below 60°F create condensation risks
- High-gloss finishes magnify brushstroke imperfections
Light interaction transforms identical pigments. Matte coatings absorb illumination, making colors appear deeper. Glossy surfaces reflect light, enhancing vibrancy but revealing application flaws. Test small sections first—your technique determines whether the piece looks handcrafted or factory-perfect.
Glass Painting Mistakes to Avoid: Tips for Clean Lines and Long-Lasting Color
Crafting vibrant designs on transparent surfaces demands precision most creators overlook. Small oversights during application become magnified once light interacts with cured coatings, turning minor errors into glaring flaws. Your approach to preparation and execution determines whether your work survives daily handling or fades within months.

Recognizing Common Pitfalls
Dust particles landing on wet surfaces create permanent bumps. Always seal containers immediately and work in low-traffic areas. Pet hair and lint stick to fresh layers—cover your workspace with plastic sheeting between sessions.
Using masking tape instead of artist-grade painter’s tape causes fuzzy edges. Apply tape firmly along marked lines, then seal the edge with a fingernail or plastic scraper. Remove tape while the final coat is still slightly tacky for crisp boundaries.
Rushing recoats leads to rippling. Acrylics may feel dry in 30 minutes but require 4-6 hours to fully cure. Test readiness by pressing a fingernail into an inconspicuous spot—no imprint means you’re safe to continue.
Maintaining Consistency in Your Design
Color intensity shifts dramatically under natural vs artificial light. Test swatches in both conditions before committing. Dark hues on large panels can overpower rooms—balance them with negative space.
Over-brushing thins coverage and leaves streak marks. Load brushes fully, then apply in single-direction strokes. For complex surface preparation techniques, use stencils to maintain pattern uniformity.
Gloss finishes highlight every inconsistency. Mix 10% water into acrylics for smoother flow, or opt for self-leveling enamel formulas. Record paint batch numbers—slight variations between containers become obvious on clear backgrounds.
Preparing Your Glass Surface for a Flawless Finish
Achieving professional-grade results begins long before your brush touches the material. Surface readiness determines whether colors bond properly or peel within weeks. Follow these proven methods to create an ideal foundation for your artwork.
Proper Cleaning and Sanding Methods
Start by washing with warm soapy water using lint-free cloths. Rinse thoroughly, then wipe with 70% isopropyl alcohol. This dual-action process removes grease and mineral deposits invisible to the naked eye.
| Solution Type | Best For | Application Tip |
|---|---|---|
| White Vinegar | Hard water stains | Use 1:1 mix with water |
| Rubbing Alcohol | Oil removal | Apply with microfiber cloth |
| Dish Soap | General cleaning | Rinse 3 times minimum |
Lightly sand surfaces with 180-grit paper using circular motions. This creates microscopic grooves for paint adhesion without visible scratches. Wipe away dust with a tack cloth before proceeding.
Choosing and Applying the Right Primer
Specialty primers prevent peeling and enhance color vibrancy. Water-based options work best with acrylics, while oil-based versions suit enamel paints. Test compatibility on scrap material first.
Apply thin, even coats using foam brushes. Allow 2 hours drying time between layers. Properly primed surfaces feel slightly rough but look smooth—this texture helps paints grip without altering your final finish.
Remember: Skipping these steps often causes failures, even with premium materials. Invest time in preparation, and your piece will maintain its beauty for years.
Choosing the Right Paint and Tools for Superior Results
Material selection separates temporary crafts from enduring artwork. Your paint formula determines adhesion strength, while tools influence precision. Unlike standard projects, transparent surfaces demand specialized solutions that bond chemically rather than mechanically.
Comparing Acrylic, Enamel, and Oil-Based Options
Acrylic enamel blends flexibility with durability, making it the top choice for smooth planes. Brands like Fine Paints of Europe eliminate chalk fillers found in budget products, offering marine-grade endurance. Consider these key differences:
- Oil-based: Highest durability but requires ventilation
- Standard acrylic: Prone to peeling without primer
- Waterborne hybrids: Low odor with UV resistance
Their Hollandlac Traditional Oil formula withstands temperature swings better than most competitors. For indoor pieces, Eurolux Acrylic provides scratch resistance without fumes.
Selecting Professional-Grade Brushes and Rollers
Natural bristle brushes work best with oil-based formulas, while synthetic options suit waterborne paints. Look for tapered edges that hold pigment without dripping. Cheap tools leave streaks or shed hairs into wet layers.
Rollers create texture issues on flat surfaces. If you must use them, choose microfiber covers under 1/4″ thickness. Invest in angled brushes for crisp edges—they’re worth the extra cost when working with high-pigment acrylic paint.
Remember: Your tools impact results as much as your technique. Test combinations on scrap material before committing to large projects.
Effective Techniques for Clean Lines and Consistent Finish
Precision transforms ordinary projects into gallery-ready works. Your brush control and tape strategy determine whether edges stay crisp or blur into disappointment. Master these methods to elevate your craft beyond basic DIY results.

Mastering Brush Strokes and Tape Application
Load your brush with acrylic paint using a light, dry technique. Wipe excess pigment on the container’s edge—this prevents drips while maintaining coverage. Always pull the brush toward your body rather than pushing outward. This simple directional shift improves line accuracy by 40% in controlled tests.
Apply quality painter’s tape along marked guides, pressing firmly to seal edges. Remove it when the final coat feels tacky but not fully dry. Perfect timing prevents both bleeding and peeling. For curved designs, use specialized vinyl tape that bends without lifting.
Adjust brush angles based on surface contours. Hold tools at 45 degrees for broad strokes, then tilt to 75 degrees for tight corners. Consistent pressure ensures even pigment distribution. Practice these moves on scrap material before tackling your main piece.
Develop muscle memory through repeated stroke patterns. Work in sections no wider than your hand span, maintaining wet edges to avoid visible seams. Record drying times for different paints—this knowledge becomes crucial when layering colors or adding details.
Overcoming Common DIY Painting Challenges
Environmental control separates rushed projects from professional-grade results. Mastering temperature and moisture factors ensures your artwork withstands daily use while maintaining vibrant colors. Let’s explore solutions for the most persistent issues creators face.
Managing Temperature and Humidity Issues
Cold environments below 50°F prevent acrylic paint from curing properly. Use space heaters to maintain 65-75°F in your workspace. High heat causes bubbles—avoid direct sunlight during application.
Humidity above 60% extends drying times by hours. Run dehumidifiers or air conditioners to keep moisture below 50%. Check forecasts before starting multi-day projects.
Dealing with Paint Drips and Uneven Coats
Wipe drips immediately with a damp brush. For cured errors, lightly sand affected areas and reapply thin layers. Multiple light coats outperform thick applications—they dry faster and prevent wrinkling.
Wait 4-6 hours between layers for water-based formulas. Test readiness by pressing a clean fingernail into hidden edges. No imprint means you’re ready for the next coat.
Adjust techniques seasonally. Winter projects might need extended drying periods, while summer work benefits from quick-dry additives. Your adaptability ensures flawless finishes year-round.
